Introduction
Hello!
I am a member of the development department at Nexty Electronics.
In my daily work, I am in charge of providing technical support for various edge AI devices.
In recent years, generative AI has become increasingly commonplace, with many of them running on large cloud servers.
While it can take advantage of advanced inference capabilities and vast computing resources, issues such as network latency, security, and cost have also been pointed out.
Against this backdrop, edge AI, which "completes as much of the necessary processing as possible on the device side," is attracting attention.
Processing data on the edge device side offers the potential benefits of improved real-time performance, reduced dependency on the cloud, and protection of confidential data, and edge AI is rapidly evolving in parallel with cloud AI.
To help you get a better feel for the potential of edge AI, this column will introduce an example of running a voice AI assistant using the Raspberry Pi 5 and Raspberry Pi AI HAT+ 2.
AI HAT+ 2 is equipped with the edge AI accelerator Hailo-10H, which has high computing performance of 40 TOPS in INT4 (20 TOPS in INT8), allowing it to quickly execute various generative AI and recognition models such as LLM/VLM/speech recognition.
Seeing a generative AI model running at practical speeds on an edge device will hopefully provide ideas and clues for future product development.
Please try it!
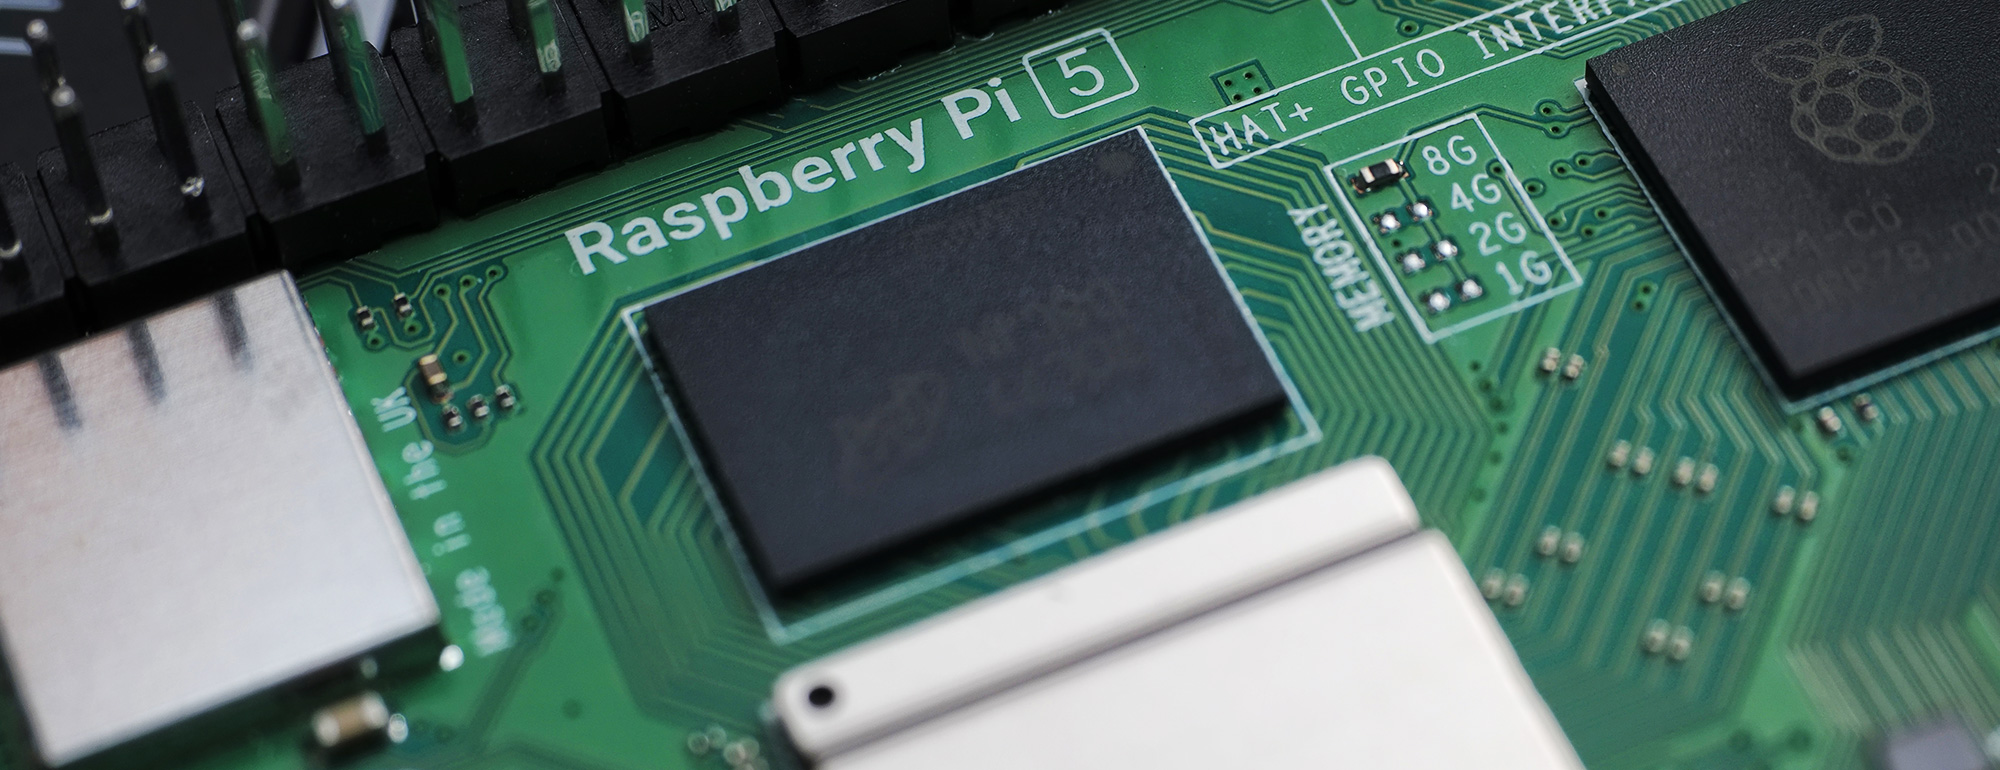
Preparing the Raspberry Pi 5
What you need
- Raspberry Pi 5
- Raspberry Pi AI Hat+ 2
- SD card
- Mouse, KEY BOARD, and monitor
- USB microphone and LOUDSPEAKERS
- POWER SUPPLIES (USB Type-C)
Since many generative AI models are several GB or larger, it is recommended that you have an SD card of 32 GB or larger.
Installing the OS
Write the Raspberry Pi 5 OS to the SD card. This time, we used Raspberry Pi Imager.
Once you download the software, launch it.
Select and enter the following items:
| Item | choice |
|---|---|
| Device | Raspberry Pi 5 |
| OS | Raspberry Pi OS (64-bit) |
| Storage | Destination SD card |
| Hostname | Hostname |
| Localisation | Capital city: Tokyo (Japan) |
| User | Username, Password |
| Wifi | as needed |
| Remote Access | as needed |
| Raspberry Pi Connect | as needed |
Once you have completed all the settings, click WRITE to write the data.
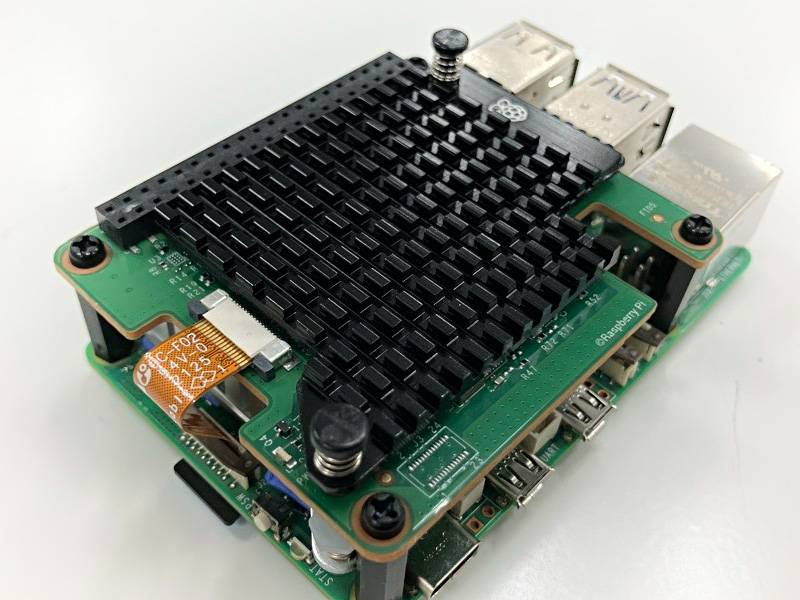
Installing the Raspberry Pi AI HAT+ 2
Next, install the Raspberry Pi AI HAT+ 2 onto the Raspberry Pi 5.
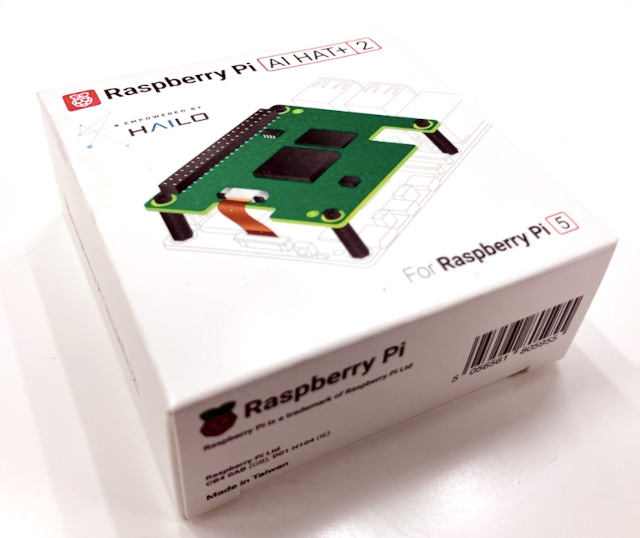
The box contains the following parts:
- AI HAT+ 2 board
- I/O extension pin header
- heat sink
- Spacers, screws

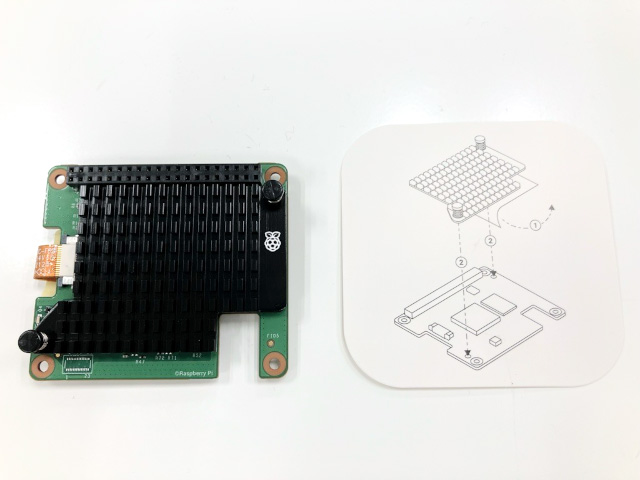
First, attach the heatsink. Peel off the sheet on the back of the heatsink. Refer to the instruction card to align the pins properly. The Raspberry Pi logo on the AI HAT+ 2 board and the heatsink should be facing the same direction.
If you find it difficult to insert the pins, try placing the heat sink on the bottom and pressing the board from above. Be sure to press around the pins to avoid damaging the board.
Insert the AI HAT+ 2 board's flexible CABLES into CONNECTORS on the Raspberry Pi 5. When installing, pull up the brown slider on CONNECTORS (be careful not to apply too much force and break it!). Once inserted, push the slider down to secure CABLES.

Secure it in place with the included spacers and screws. This completes the installation.
Installing the AI HAT+ 2 (Hailo-10H) execution environment
The AI HAT+ 2 is equipped with the Hailo-10H edge AI accelerator. We will install the drivers and various tools to control this device.
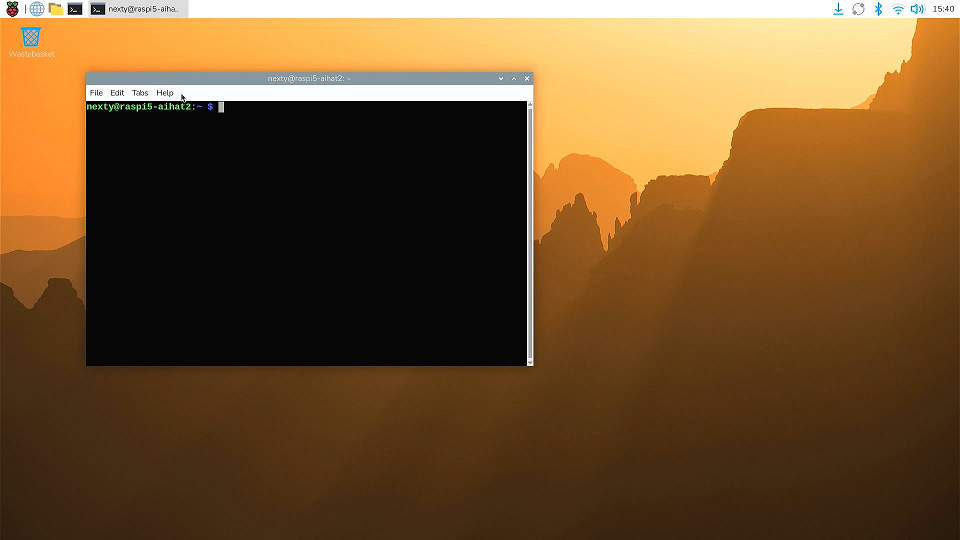
1. Turn on POWER SUPPLIES and start the terminal.
A network connection is required to install the software, so connect your Raspberry Pi 5 to Wi-Fi or a wired LAN.
2. Run the following in the terminal (don't type $ as it is the terminal prompt). Note that the package name is hailo-h10-all, not 10h.
$ sudo apt update
# ドライバモジュールのビルド、インストールを行うのに必要
$ sudo apt install dkms
# AI HAT+ 2実行環境
$ sudo apt install -y hailo-h10-all
$ sudo reboot
3. After rebooting, open the terminal. Run hailortcli scan and if the following message appears, the runtime environment has been successfully installed.
$ hailortcli scan
Hailo Devices:
[-] Device: 0001:01:00.0
Voice AI Assistant Demo
Next, let's run the sample application published by HAILO.
Reference links:
The following demos are available:
| Name | Overview |
|---|---|
| Agent Tools Example | Demo of calling various functions from LLM |
| VLM chat | Interactive Computer Vision with VLM |
| Voice Assistant | Voice recognition, voice AI assistant demo by LLM |
| Simple LLM Chat | A simple LLM example |
| Simple VLM Chat | A simple VLM example |
| Simple Whisper Chat | A simple speech recognition example |
| Hailo Ollama | Open WebUI and Hailo-Ollama integration sample |
In this article, we will try using Voice Assistant.
Obtaining the sample application code and installing the package
Reference links:
1. In the terminal, go to the appropriate directory and download the source code. Once downloaded, go to the demo directory.
If you use Python for other purposes, it is recommended that you create a Python virtual environment specifically for running demos so that packages are not affected.
$ git clone https://github.com/hailo-ai/hailo-apps.git
$ cd ./hailo-apps/
# venv_gen_aiという名前のPython仮想環境を作成する
# システムにインストールされたHAILOパッケージを引き継ぐため
# --system-site-packagesを指定する
$ python -m venv --system-site-packages venv_gen_ai
# Python実行環境の切り替え
$ . venv_gen_ai/bin/activate
Note: When rebooting and running, make sure you switch virtual environments first.
2. Install the libraries and Python packages required for the demo.
$ sudo apt-get install -y portaudio19-dev
# hailo-apps/で実行
$ pip install -e ".[gen-ai]"
3. With the USB microphone and LOUDSPEAKERS connected, run the following tool. The tool will automatically recognize the connected microphone and LOUDSPEAKERS and perform a recording and playback test.
$ hailo-audio-troubleshootRunning a Voice Assistant Demo
1. Create a directory to download the model
$ sudo mkdir /usr/local/hailo
$ sudo chown <ユーザ名>:<ユーザ名> /usr/local/hailo
2. Execute the following command to run the voice assistant demo. The first time, it will take some time to download the model.
# 初回は/usr/local/hailoにモデルをダウンロードします
$ python -m hailo_apps.python.gen_ai_apps.voice_assistant.voice_assistant
3. Once the model download is complete, the assistant will launch. Since the voice activity detection (VAD) function is not enabled, you will need to press the spacebar to indicate the start and end of VOICE INPUT UNITS.
Let's try it right away.
By default, it only recognizes English. Press the space bar to say "Hello, who are you?", and then press the space bar again when you're done. This time, the following response is returned:
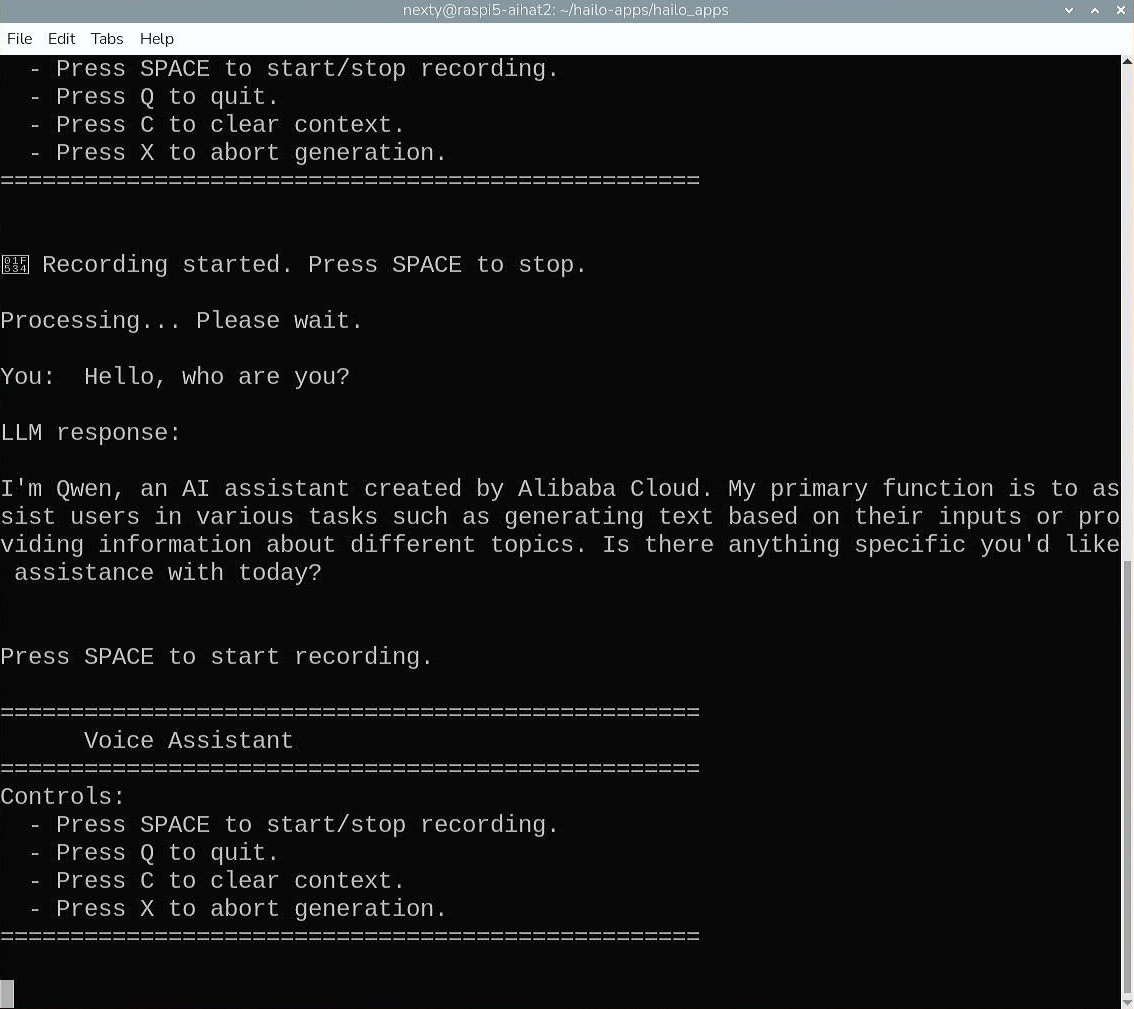
Once you have confirmed that it works, enter 'Q' to exit the demo.
Japanese language support
As of the time of writing this article (2026/01/30), the voice assistant demo loads the following models:
| Model name | task |
|---|---|
| Whisper-Base | Automatic Speech Recognition |
| Qwen2.5-1.5B-Instruct | LLM |
Both models support multiple languages, so let's make it possible to input and output Japanese.
Copy the original code and create a file called voice_assistant_ja.py, then open the file in an editor.
# 音声AIアシスタントのディレクトリに移動します
$ cd hailo_apps/python/gen_ai_apps/voice_assistant
$ cp voice_assistant.py voice_assistant_ja.py
$ nano voice_assistant_ja.py
Modify the source code as follows:
Changes
    ...
    def on_audio_ready(self, audio):
      self.abort_event.clear()

      # 1. Transcribe
-     user_text = self.s2t.transcribe(audio)
+     # Whisperの言語コードで日本語(ja)を指定
+     user_text = self.s2t.transcribe(audio, language="ja")

      if not user_text:
          print("No speech detected.")
          return
      ...
Once you've made your changes, save them with Ctrl-O and exit the editor.
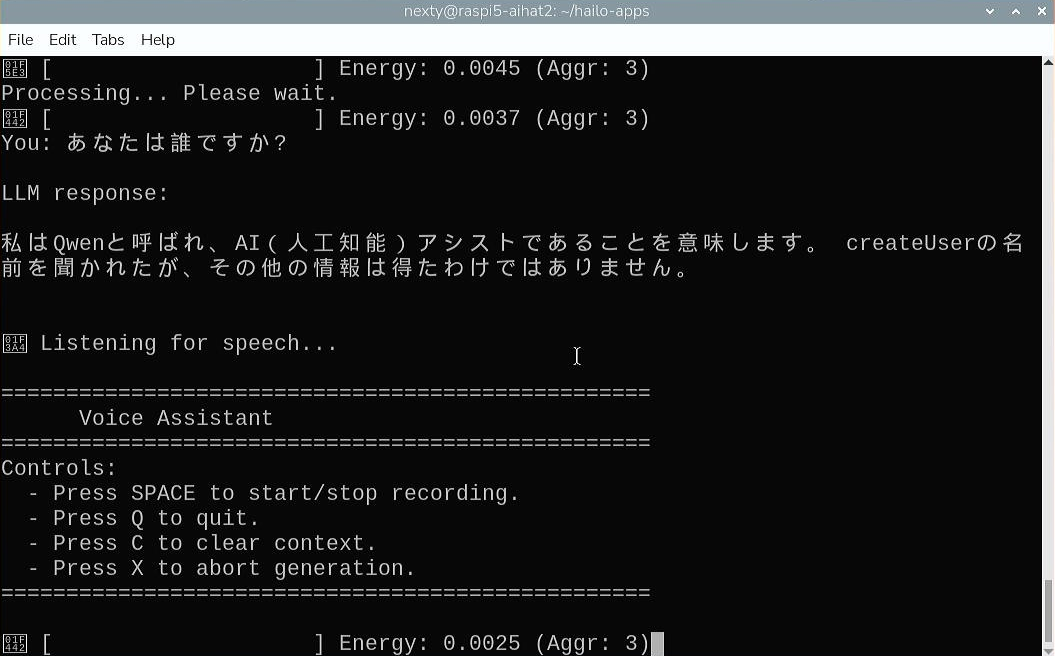
Now, go back to the hailo-apps directory and try running the voice assistant. Specifying the --vad option will enable automatic segment detection for VOICE INPUT UNITS, allowing it to recognize speech just by speaking into the microphone.
$ python -m hailo_apps.python.gen_ai_apps.voice_assistant.voice_assistant_ja --vadYou can now communicate in Japanese as follows:
Changes to the LLM model
The Japanese answers on Qwen2.5-1.5B-Instruct contain garbled characters and are a little unnatural.
Let's try another LLM model. Download Qwen2-1.5B-Instruct.hef from the link below to your hailo-apps directory.
Next, open the editor and modify it to force the loading of the downloaded model.
$ nano voice_assistant_ja.pyChanges
class VoiceAssistantApp:
  ...
    def __init__(self, debug=False, no_tts=False):
        ...

        if model_path is None:
            raise RuntimeError("Failed to resolve HEF path for LLM model. Please ensure the model is available.")

        ...

-       self.llm = LLM(self.vdevice, str(model_path))
+       # 読み込むモデルを指定します
+       self.llm = LLM(self.vdevice, "./Qwen2-1.5B-Instruct.hef")
Once you have made the corrections, try running the voice assistant again.
$ python -m hailo_apps.python.gen_ai_apps.voice_assistant.voice_assistant_ja --vad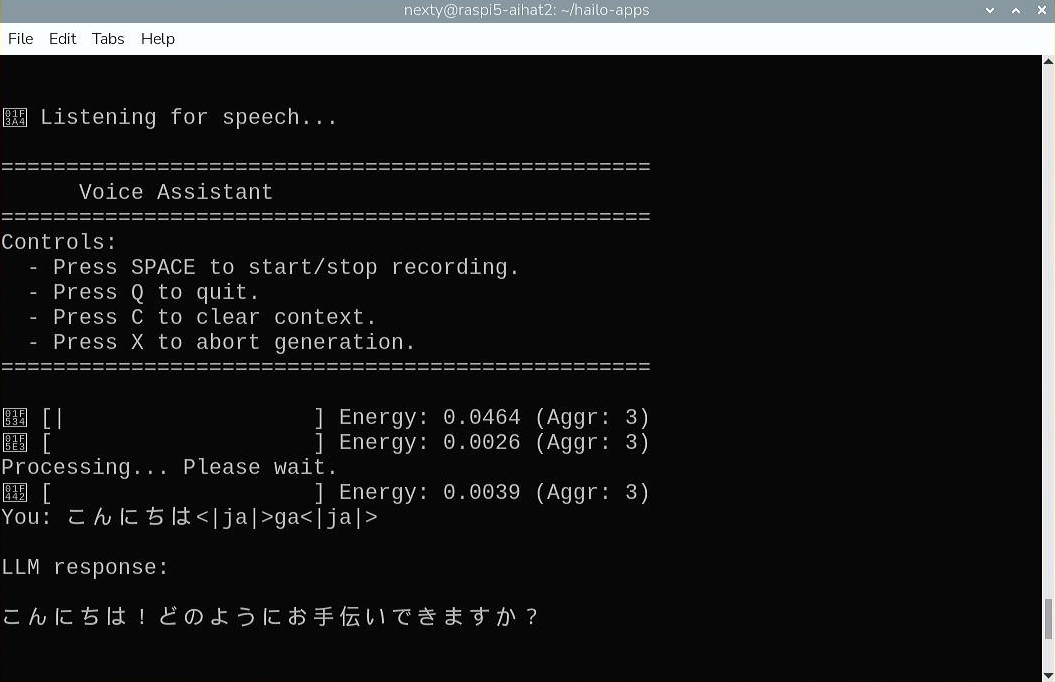
The model used this time only has 1.5B parameters, so the quality of the Japanese answers is not very high. However, larger models are planned to be provided, so in the future, we will be able to communicate in Japanese more naturally.
Additionally, the time it takes for Whisper-Base to output text after you input your voice is approximately two seconds, which is quite fast for a voice assistant that runs on inexpensive edge AI.
Please try it out and use it to develop your own original applications!
Summary
This article introduced examples of using the Raspberry Pi AI HAT+ 2 to quickly run generative AI models such as speech recognition and LLM. The Hailo-10H built into the AI HAT+ 2 can run not only generative AI models but also various image AI models.
The model can be downloaded from the Hailo Model Explorer Generative AI/Vision below.
You can also convert any model not in the catalog using the free Hailo Dataflow Compiler, which supports the ONNX and TensorFlow Lite (TFLite) formats.
In addition to the demo introduced here, hailo-apps also provides AI agents that call external functions, as well as image processing AI samples such as YOLO and CLIP, so you can use these as a starting point to quickly create your own applications. We encourage you to try out applying edge AI to the real world!
Additionally, the NEXTY Electronics Development Department provides product development and technical support for the Hailo-8 and Hailo-10H M.2 modules and NXP's i.MX series. We can introduce a variety of products to meet customer needs, including examples of operation in combination with i.MX 8 or i.MX 95 and Hailo-8 or Hailo-10H, so please feel free Inquiry.