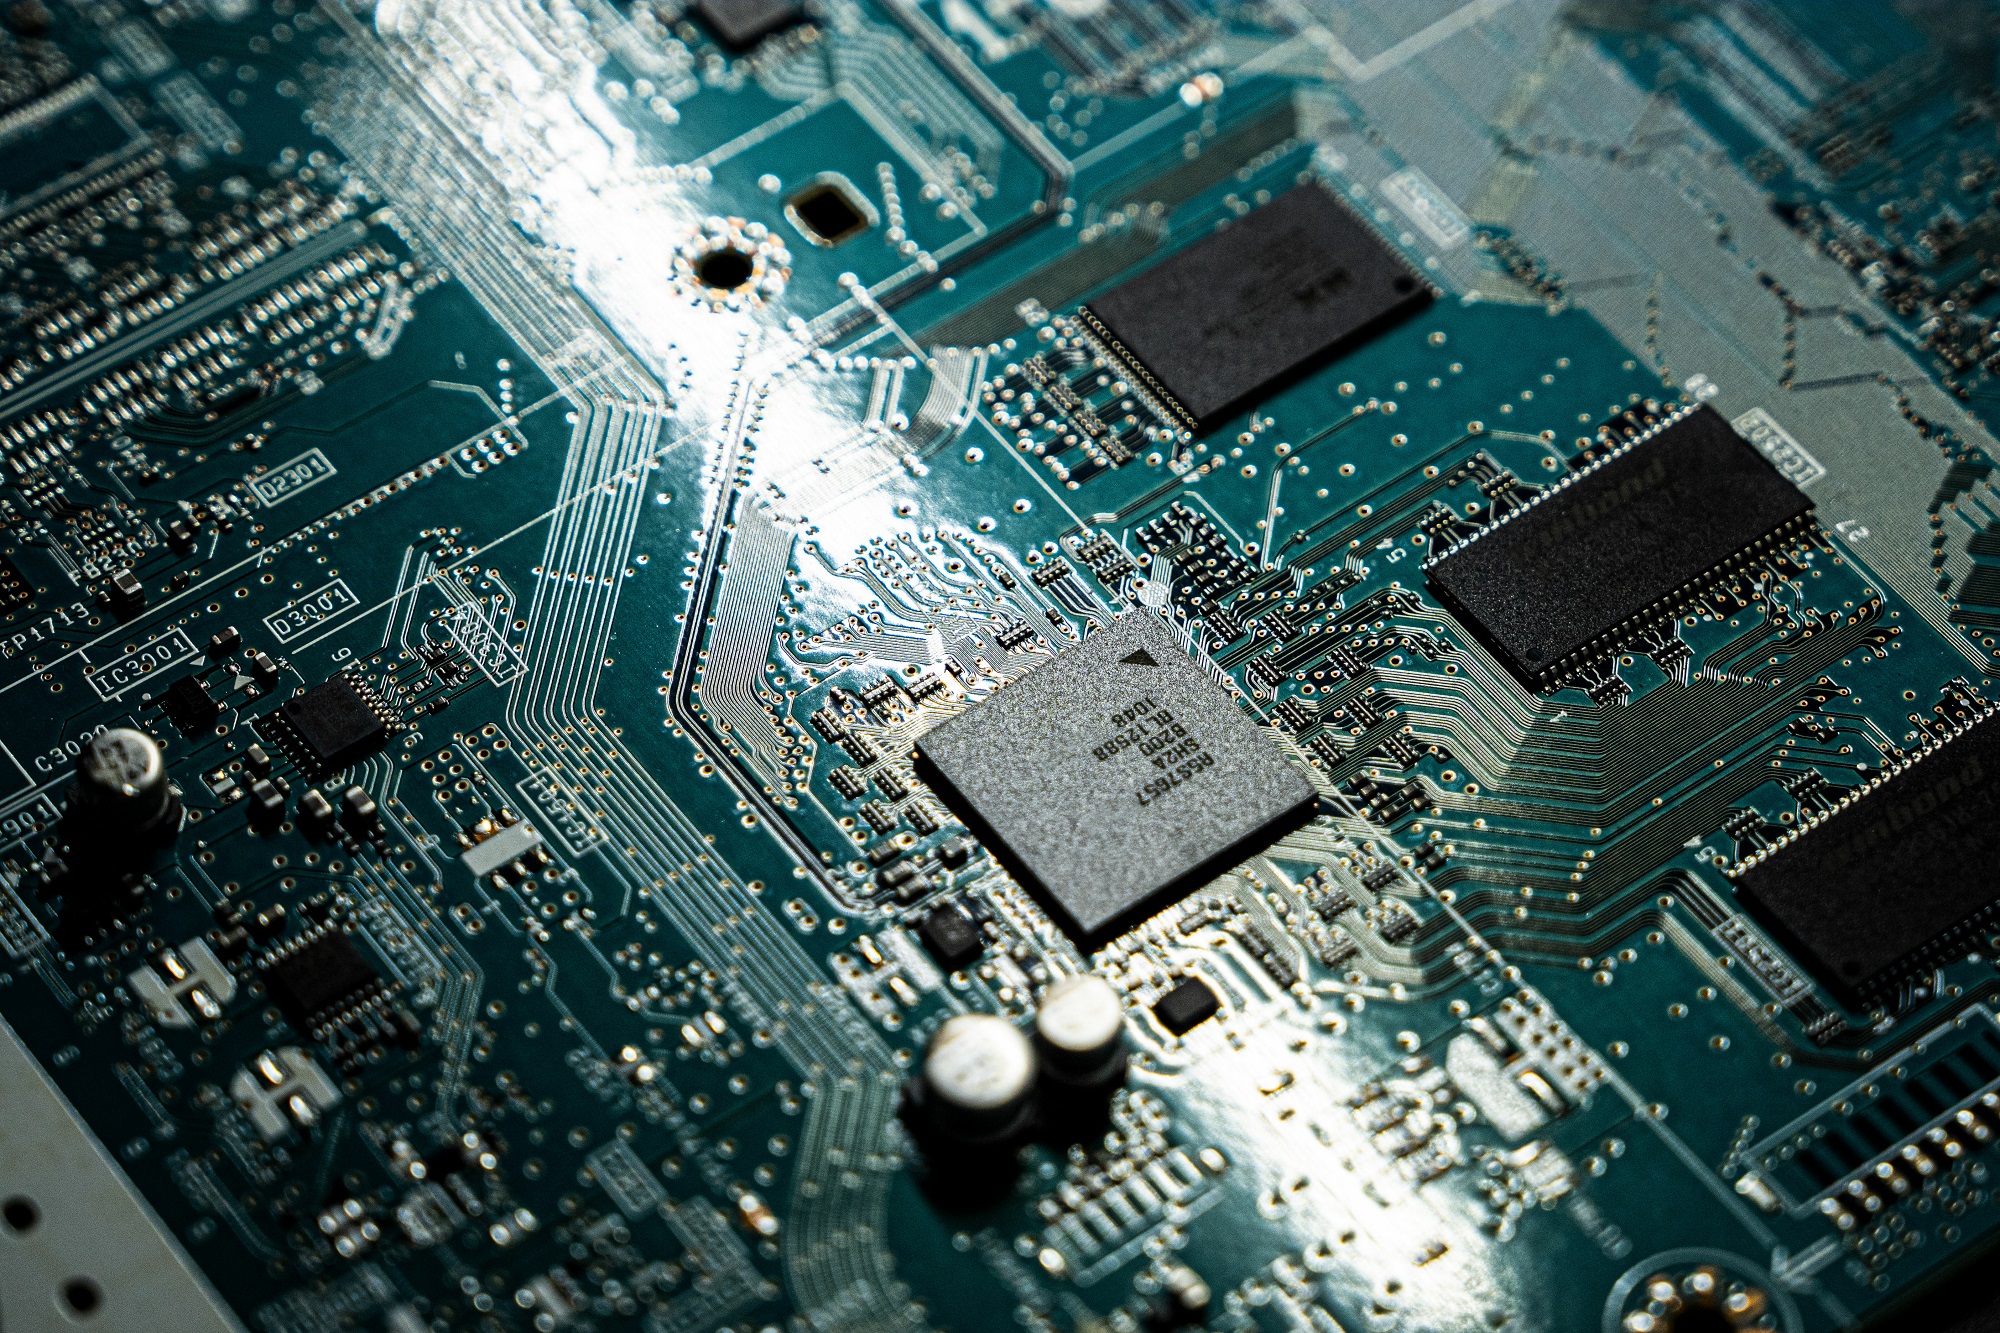
This is a technical column written by the development team at NEXTY Electronics. It will cover software development using reference boards that utilize the products we handle.
This time, we will use the STMicroelectronics reference board (hereinafter referred to as the ST reference board) developed by our company to create simple multitasking software equipped with FreeRTOS.
Overview
STMicroelectronics MCUs allow you to easily configure peripherals and middleware using a GUI by using the initialization code generation tool "STM32CubeMX" distributed by the company.
FreeRTOS is a real-time OS primarily for embedded systems, and because it is open source under the MIT license, it can be used free of charge for both commercial and non-commercial purposes.
In this article, we will create software that controls the four LEDs on the ST reference board with different tasks. Each LED will blink as follows:
| LED name | Toggle Interval | Task Name |
|---|---|---|
| LD1 | 500 msec | defaultTask |
| LD2 | 100 msec | myTask2 |
| LD3 | 1000msec | myTask3 |
| LD4 | 2000msec | myTask4 |

What you need
The hardware and software required for the software development introduced here, along with the versions used, are listed below.
| Name | Purpose | Remarks | image |
|---|---|---|---|
| ST version References board | Board used | Mobile MCU: board STM32H753XIH6 | 
|
| i-jet | Firmware Writing Debugger | Ver: B |  |
| STM32CubeMX | Initialization Code Generation Tool | Ver: 6.12.1 | |
| IAR EW for Arm | IDE | Ver: 9.30.1 |
Operation with STM32CubeMX
We will use STM32CubeMX to configure pin settings and FreeRTOS.
1. MCU selection
When you start STM32CubeMX, the following screen will appear, so click "ACCESS TO MCU SELECTOR".

The following screen will be displayed. Enter the name of the MCU mounted on the ST version reference board, "STM32H753XIH6," in the "Commercial Part Number" field. This will narrow down the MCU candidates in the lower right section to two.

Of the two candidates displayed, click "STM32H753XIH6" to select it, and then click the "Start Project" button in the upper right corner.

This software does not use an MPU (Memory Protection Unit), so if the following message box appears, click "Yes."

2. Pin Settings
In this hands-on, we will use the four LEDs implemented on the ST version reference board, so let's set up the pins to use them.
The pins for the four LEDs are as follows:
| Terminal name | Port |
|---|---|
| LD1 | PK3 |
| LD2 | PK4 |
| LD3 | PK5 |
| LD4 | PK6 |
The Pinout & Configuration tab of STM32CubeMX is displayed, so enter "PK3" in the search text box at the bottom right. The pin corresponding to PK3 in the diagram above the text box will then flash.

Clicking on the blinking pin will display a pull-down menu as shown below. Click on “GPIO_Output” to set it to GPIO output.

Set PK4, PK5, and PK6 in the same way.
3. Adding and configuring FreeRTOS
Next, we will add and configure FreeRTOS.
Click "Middleware and Software Packs" in the left pane of STM32CubeMX, and then click "FREERTOS" in it.


This will display a pane called "FREERTOS Mode and Configuration." Since we will be using the CMSIS V2 interface this time, click the Interface pull-down menu and select "CMSIS_V2."

4. Add a task
STM32CubeMX allows you to configure FreeRTOS tasks using a GUI. This time, create a task for each of the four LEDs. Click the Tasks and Queues tab in the Configuration pane at the bottom center of STM32CubeMX.
By default, the Tasks list contains only one task called "defaultTask," so let's create three more tasks. Set all the settings for each task (priority, stack size, etc.) to their default values.
Click the Add button below the Tasks list.

The NewTask window will appear. Click the OK button to add "myTask02" to the Tasks list. The value of Entry Function (StartTask02) will be the task function name.

Similarly, add "myTask03" and "myTask04".
5. Timer Settings
FreeRTOS recommends using a time base other than Systick, so we will use TIM6 this time. Click "System Core" in the left pane of STM32CubeMX, click "SYS" within it, click the pull-down menu in the top-center pane, and select "TIM6".

6. Project settings and code generation
Next, configure the project to be used in the IDE.
Click the "Project Manager" tab in STM32CubeMX and enter the project name to be created in Project Name and the directory where the project will be created in Project Location. Here, the project name is "st_pfp_rtos_sample" and the Project Location is "C:\work\HMI_platform\st_board\rtos_for_blog". Since we will be using EWARM as the IDE this time, set Toolchain / IDE to EWARM. The default values for OTHERS items are OK. Click the GENERATE CODE button in the upper right corner to generate the IDE project file and code.

Operation in IDE (EWARM)
The project files and code generated by STM32CubeMX are operated using the IDE (EWARM).
1. Open the project in EWARM
Open the EWARM folder in the directory you set in the Project Manager tab of STM32CubeMX and double-click the file "Project.eww" in it. In the EWARM version 9.30 used here, the following message window will be displayed, so click the "Yes" button.

2. Coding the task function
We will add a process to blink the LED to the task function of the code generated by STM32CubeMX. From the EWARM workspace, double-click "main.c" to open main.c.

In main.c, there are empty functions for tasks set up in STM32CubeMX (StartDefaultTask, StartTask2, StartTask3, StartTask4), so add the following process to toggle the LED and wait for the specified number of milliseconds within the infinite loop of each function.
/* USER CODE BEGIN Header_StartDefaultTask */
/**
 * @brief Function implementing the defaultTask thread.
 * @param argument: Not used
 * @retval None
 */
/* USER CODE END Header_StartDefaultTask */
void StartDefaultTask(void *argument)
{
    /* USER CODE BEGIN 5 */
    /* Infinite loop */
    for(;;)
    {
        HAL_GPIO_TogglePin(GPIOK, GPIO_PIN_3);
        osDelay(500);
    }
    /* USER CODE END 5 */
}

/* USER CODE BEGIN Header_StartTask02 */
/**
 * @brief Function implementing the myTask02 thread.
 * @param argument: Not used
 * @retval None
 */
/* USER CODE END Header_StartTask02 */
void StartTask02(void *argument)
{
    /* USER CODE BEGIN StartTask02 */
    /* Infinite loop */
    for(;;)
    {
        HAL_GPIO_TogglePin(GPIOK, GPIO_PIN_4);
        osDelay(100);
    }
    /* USER CODE END StartTask02 */
}

/* USER CODE BEGIN Header_StartTask03 */
/**
 * @brief Function implementing the myTask03 thread.
 * @param argument: Not used
 * @retval None
 */
/* USER CODE END Header_StartTask03 */
void StartTask03(void *argument)
{
    /* USER CODE BEGIN StartTask03 */
    /* Infinite loop */
    for(;;)
    {
        HAL_GPIO_TogglePin(GPIOK, GPIO_PIN_5);
        osDelay(1000);
    }
    /* USER CODE END StartTask03 */
}

/* USER CODE BEGIN Header_StartTask04 */
/**
 * @brief Function implementing the myTask04 thread.
 * @param argument: Not used
 * @retval None
 */
/* USER CODE END Header_StartTask04 */
void StartTask04(void *argument)
{
    /* USER CODE BEGIN StartTask04 */
    /* Infinite loop */
    for(;;)
    {
        HAL_GPIO_TogglePin(GPIOK, GPIO_PIN_6);
        osDelay(2000);
    }
    /* USER CODE END StartTask04 */
}
3. Debugger Settings
Set up the debugger for firmware writing.
Right-click "st_pfp_rtos_sample-st_pfp_rtos_sample" in the "Workspace" pane of EWARM and click "Options" in the pull-down menu.

Click the "Debugger" category in the Options window, and select "I-jet" from the "Driver" pull-down menu on the "Settings" tab.

Click the "I-jet" category in the Options window, select "SWD" in the "Interface" radio button on the "Interface" tab, and click the "OK" button.

4. Build and write
Build the firmware and write it to the MCU.
Connect the ST version reference board and I-jet via the SWD terminal, and connect the PC and I-jet via USB.
Click the "Download and Debug" button in EWARM to build and write the firmware and start the debugger.

If there are no errors, the debugger will start. Click the "Run" button in the Debugger menu of EWARM to run the program.

You will then see that the four LEDs on the ST reference board blink at different times.
Conclusion
In this article, we created a simple multitasking program using FreeRTOS that runs on the ST version reference board.
By using STM32CubeMX, we found that we could even configure FreeRTOS tasks using the GUI.
In the future, we plan to introduce programs that synchronize tasks using FreeRTOS queues and semaphores.
Additionally, NEXTY Electronics' development team utilizes the products it handles to carry out in-house development and contract development (hardware and software development).
We will be happy to assist you with any issues you may have, so please feel free to contact us.