安価で高機能な Livox 社製 HAP と USB カメラを使って、センサーフュージョンを実現しました。
- LiDAR の点群にカメラから入力された色情報を付加
- カメラ画像に点群から求めた距離情報を付加

概要
- ハードウェア構成
| Livox 3D-LiDAR | HAP-TX(詳細) |
|---|---|
| NVIDIA | Jetson AGX-Xavier |
| BUFFALO USBカメラ | BSW500MBK |
- 環境
ROS(Melodic)
- 前提条件
カメラのキャリブレーションは終了済
- セットアップ
- Livox_SDK2 をインストール&セットアップ
- Livox_ros_driver2 をインストール&セットアップ
- github に公開されている sensor_fusion のパッケージをダウンロードし、コンパイル
$ cd ~/catkin_ws/src/
$ git clone https://github.com/Sadaku1993/velodyne_camera_calibration
$ cd ~/catkin_ws
$ catkin_make
- launchファイル(sensor_fusion.launch)の変更
github よりダウンロードした launch ファイルは Velodyne 用のため、Livox用 へ変更する必要がある
<?xml version="1.0"?>
<!--Sensor Fusion-->
<launch>
<arg name="rviz_enable" default="true"/>

<!--tf-->
<node pkg="tf" type="static_transform_publisher" name="livox2camera_link"
args="-0.15 0 0.25 -1.571 0.0 -1.571 livox_frame head_camera 100" />

<!--velodyne-->
<!--include file="$(find velodyne_pointcloud)/launch/32e_points.launch" /-->
<!--Livox-->
<include file="$(find livox_ros_driver2)/launch_ROS1/rviz_HAP.launch" />

<!--USB camera-->
<node name="head_camera" pkg="usb_cam" type="usb_cam_node">
<param name="camera_info_url" value="file://$(find livox_camera_calibration)/config/camera.yaml"/>
<param name="pixel_format" value="yuyv" />
<param name="image_width" value="640" />
<param name="image_hight" value="480" />
</node>

<!--image_proc-->
<node name="image_proc" pkg="image_proc" type="image_proc" output="screen">
<remap from="/camera_info" to="/head_camera/camera_info" />
<remap from="/image_raw" to="/head_camera/image_raw" />
<remap from="/image_rect_color" to="/head_camera/image_rect_color" />
</node>

<!--sensor fusion-->
<node pkg="livox_camera_calibration" type="sensor_fusion" name="sensor_fusion">
<remap from="/image" to="/head_camera/image_rect_color" />
<remap from="/cinfo" to="/head_camera/camera_info" />
<remap from="/lidar" to="/livox/lidar" />
<remap from="/colored_cloud" to="/livox_points/colored" />
<remap from="/projection" to="/head_camera/projection" />
</node>

<!--rviz-->
<group if="$(arg rviz_enable)">
<node pkg="rviz" type="rviz" name="rviz" args="-d $(find livox_camera_calibration)/config/sensor_fusion.rviz"/>
</group>

<!--rosbag play-->
<!--node pkg="rosbag" type="play" name="play" args="$(find velodyne_camera_calibration)/bagfiles/data.bag" /-->
</launch>
解説
- TF による LiDAR とカメラの位置を指定する
LiDAR frame:livox_frame
camera frame:head_camera
LiDAR とカメラの距離:X/Y/Z=-0.15, 0, 0.25

LiDAR とカメラの座標軸変換:yaw/pitch/roll=π/2, 0 , π/2 = -1.571,0,-1.571

<node pkg="tf" type="static_transform_publisher" name="livox2camera_link"
args="-0.15 0 0.25 -1.571 0.0 -1.571 livox_frame head_camera 100" />
- livox_ros_drvier の起動
<include file="$(find livox_ros_driver2)/launch_ROS1/rviz_HAP.launch" />
- USB カメラの起動
<!--USB camera-->
<node name="head_camera" pkg="usb_cam" type="usb_cam_node">
<param name="camera_info_url" value="file://$(find livox_camera_calibration)/config/camera.yaml"/>
<param name="pixel_format" value="yuyv" />
<param name="image_width" value="640" />
<param name="image_hight" value="480" />
</node>
- image_proc の起動
読み込んだキャリブレーションデータを元の画像を補正
カメラからの生データ(/head_camera/image_raw)とキャリブレーションデータ(camera.yaml)、camera_iinfo をimage_proc に入力し、補正後のカラーデータ(/head_camera/image_rect_color)を取得する。

<!--image_proc-->
<node name="image_proc" pkg="image_proc" type="image_proc" output="screen">
<remap from="/camera_info" to="/head_camera/camera_info" />
<remap from="/image_raw" to="/head_camera/image_raw" />
<remap from="/image_rect_color" to="/head_camera/image_rect_color" />
</node>
- センサーフュージョン
補正後のカメラデータ(/head_camera/image_rect_color)、camera_info(head_camera/camera_info)とLiDAR からの点群データ(/livox/lidar)を入力し、色付き点群(/livox_points/colored)と距離情報付きカメラ画像(/head_camera/projection)を出力する

<!--sensor fusion-->
<node pkg="livox_camera_calibration" type="sensor_fusion" name="sensor_fusion">
<remap from="/image" to="/head_camera/image_rect_color" />
<remap from="/cinfo" to="/head_camera/camera_info" />
<remap from="/lidar" to="/livox/lidar" />
<remap from="/colored_cloud" to="/livox_points/colored" />
<remap from="/projection" to="/head_camera/projection" />
</node>
実行結果
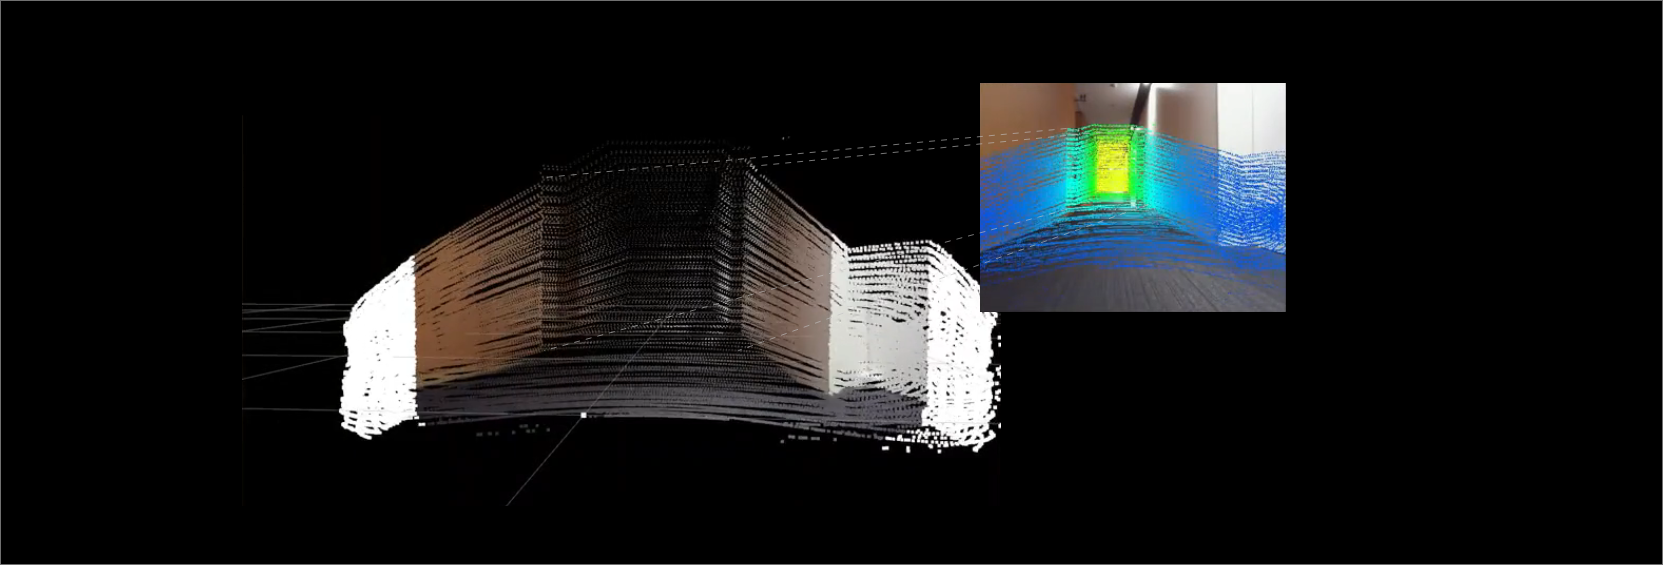
以下の様に、rviz上にカメラから取得した色が付いた点群と、距離によって色付けされたカメラ画像が出力されます。
表示するTopic
- PointCloud
Topic:/livox_points/colored
- Imahe
Topic:/head_camera/projection
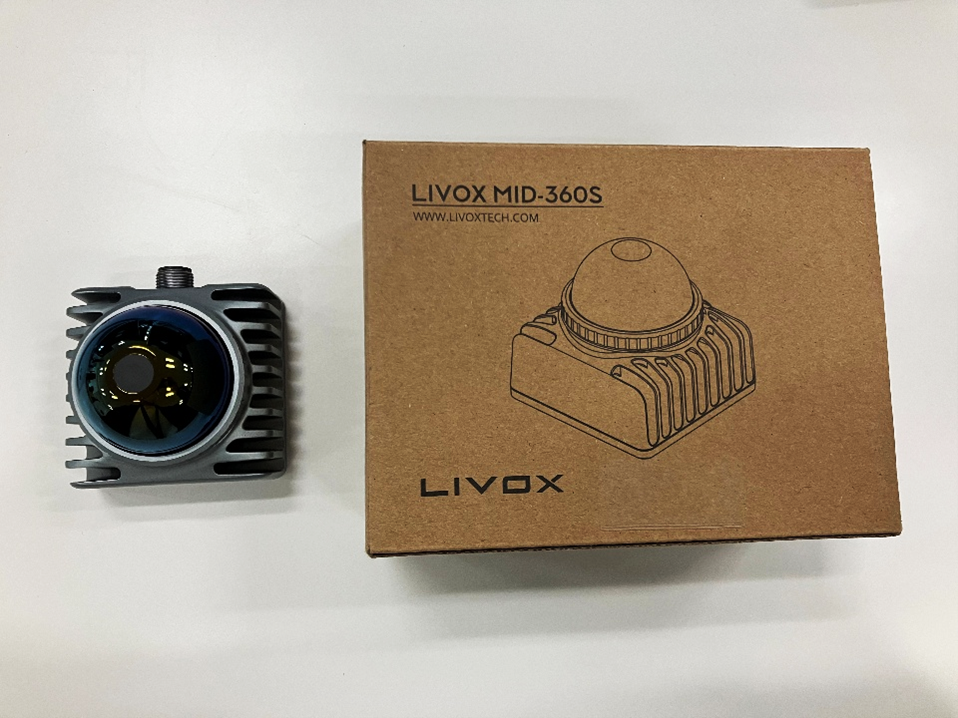
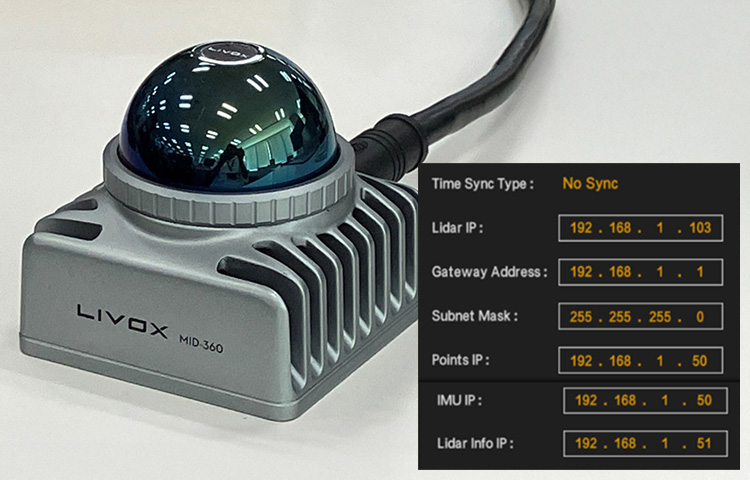
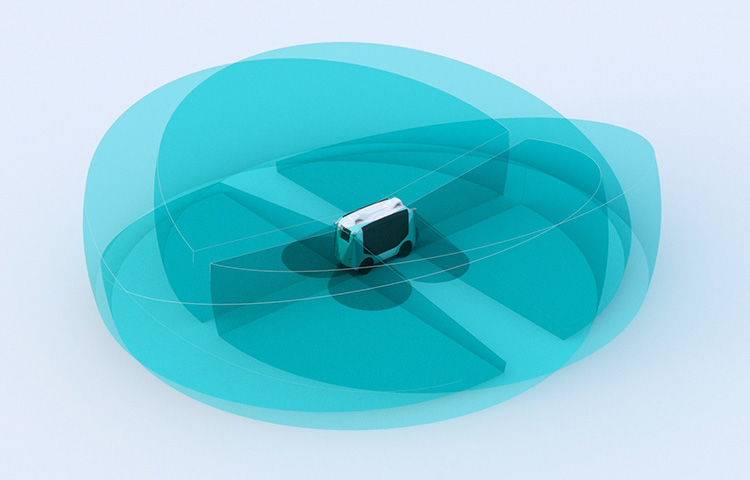
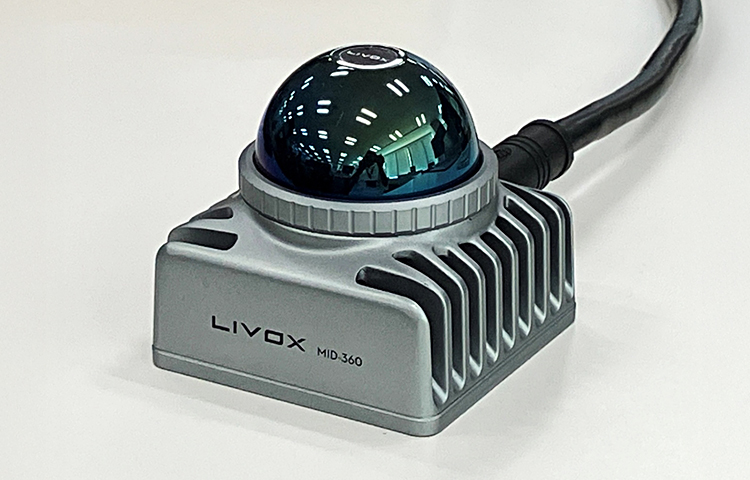
もちろん、ros_driver を MID-360 用に変更することにより、MID-360 + Camera のフュージョンも実行できます。
参考
- 3D LiDARとカメラのセンサフュージョン
- カメラのキャリブレーションを行う
- velodyne_camera_calibration
- Livox 3D-LiDARを本格的な産業用途へ利用可能に
- 3D-LiDAR(Livox:HAP)とカメラのセンサーフュージョン
- 3D-LiDAR(Livox:MID‐360)を使った3D-MAP作成
免責事項
本ページでご紹介したシステムは、あくまでもデモ用として確認しています。 従いまして、本ページ内容の活用による不具合などの責任は負いかねます。 また、商用利用する場合は、ソースコード作成元へ確認ください。