The Arduino UNO Q, equipped with a Qualcomm SoC (QRB2210), allows you to run your own trained AI models on the board by combining Arduino App Lab and Edge Impulse.
While AI applications utilizing image recognition have become commonplace, the process of collecting image data, training a model, and deploying it to an edge device can feel daunting due to the need for environment setup and the use of various tools. With Arduino UNO Q, however, the Edge Impulse workflow, developed in collaboration with Qualcomm, allows for seamless data collection, model training, and deployment to the board, all within a browser and the Arduino App Lab.
For more details on the Arduino UNO Q, please check the official Qualcomm website.
Arduino UNO Q powered by the Qualcomm Dragonwing
The Arduino UNO Q is a development board powered by Qualcomm's Dragonwing processor. The official website highlights its dual-brain configuration, development tools and learning resources, and plug-and-play expandability. While maintaining the user-friendly development experience of traditional Arduino boards, it's also suitable for AI inference applications such as image classification.
This article uses an image classification model that distinguishes between mice and scissors as an example to describe the entire process from data collection to model training and inference execution on an Arduino UNO Q.
1. Premise
1-1. What we will do in this article
- 1. Create an Edge Impulse project from Arduino App Lab.
- 2. Collect image data for training using a USB camera.
- 3. Design and train the model on Edge Impulse.
- 4. Test the trained model.
- 5. Download the model to Arduino UNO Q and run it as an app.
1-2. Preparations
- Arduino UNO Q board (pre-configured and ready to connect to a PC)
- Arduino App Lab (already installed on PC)
- USB camera (used for collecting training data and inference)
- Arduino account (required to log in to Edge Impulse)
2. Create an Edge Impulse project from Arduino App Lab.
2-1. Connect to the board
Set up your Arduino UNO Q and make it ready to connect. Launch the Arduino App Lab, and select the board that will be displayed.
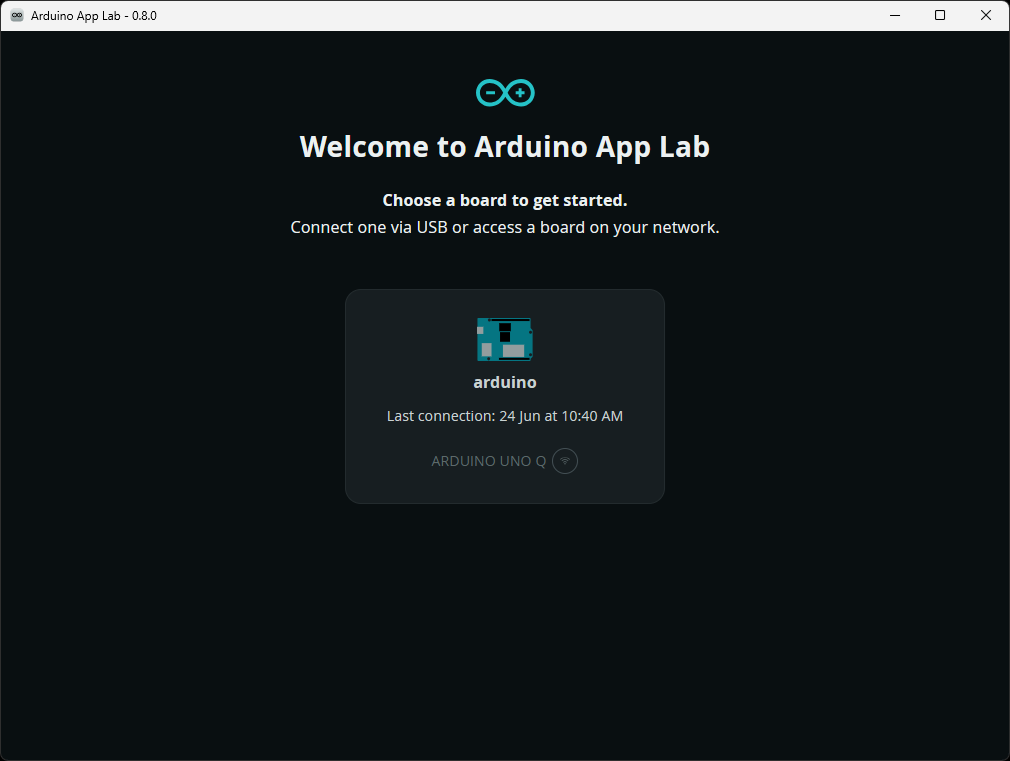
Arduino App Lab startup screen
2-2. Open the Image Classification Brick
Once connected, select Bricks from the left menu, and then select Image Classification from the list.
Next, select the AI models tab and then select the Train new AI model button at the bottom.
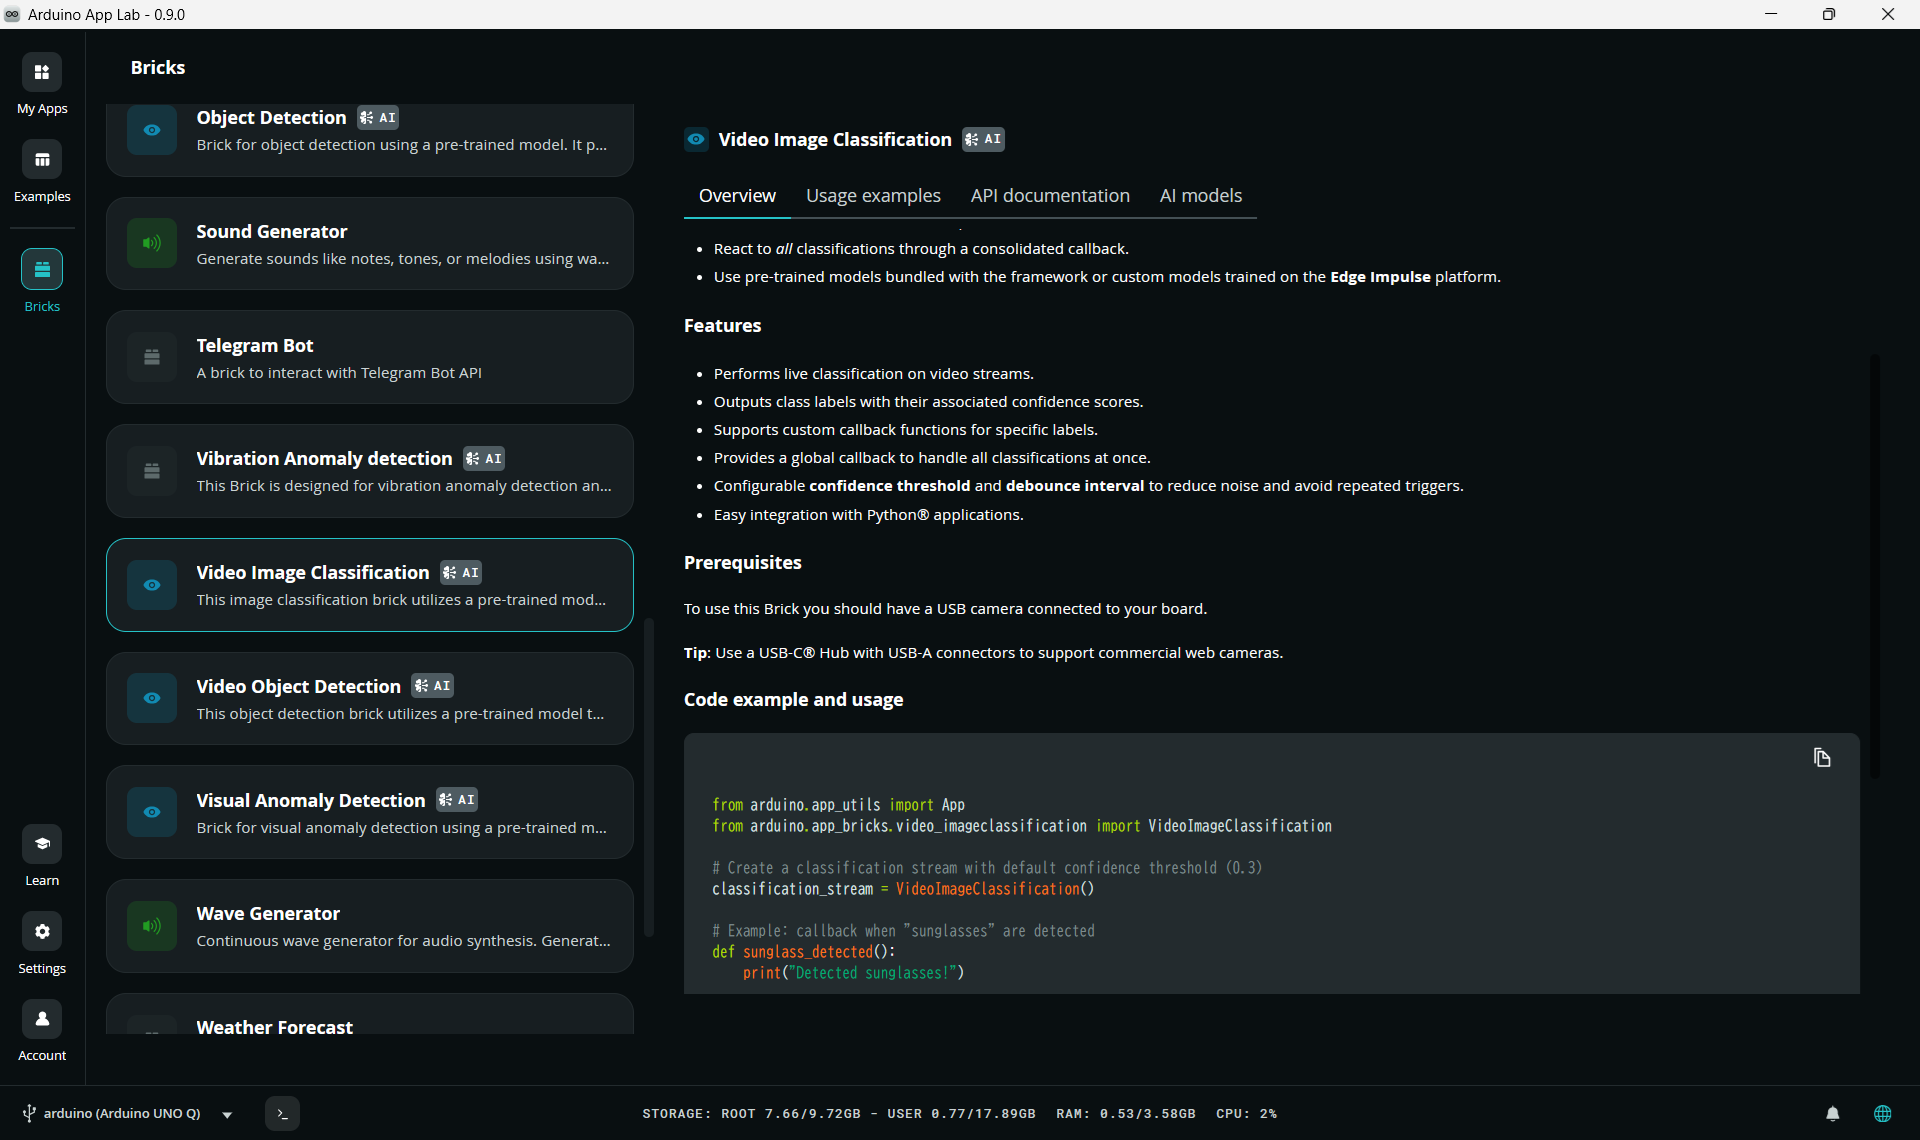
Classification Brick Overview
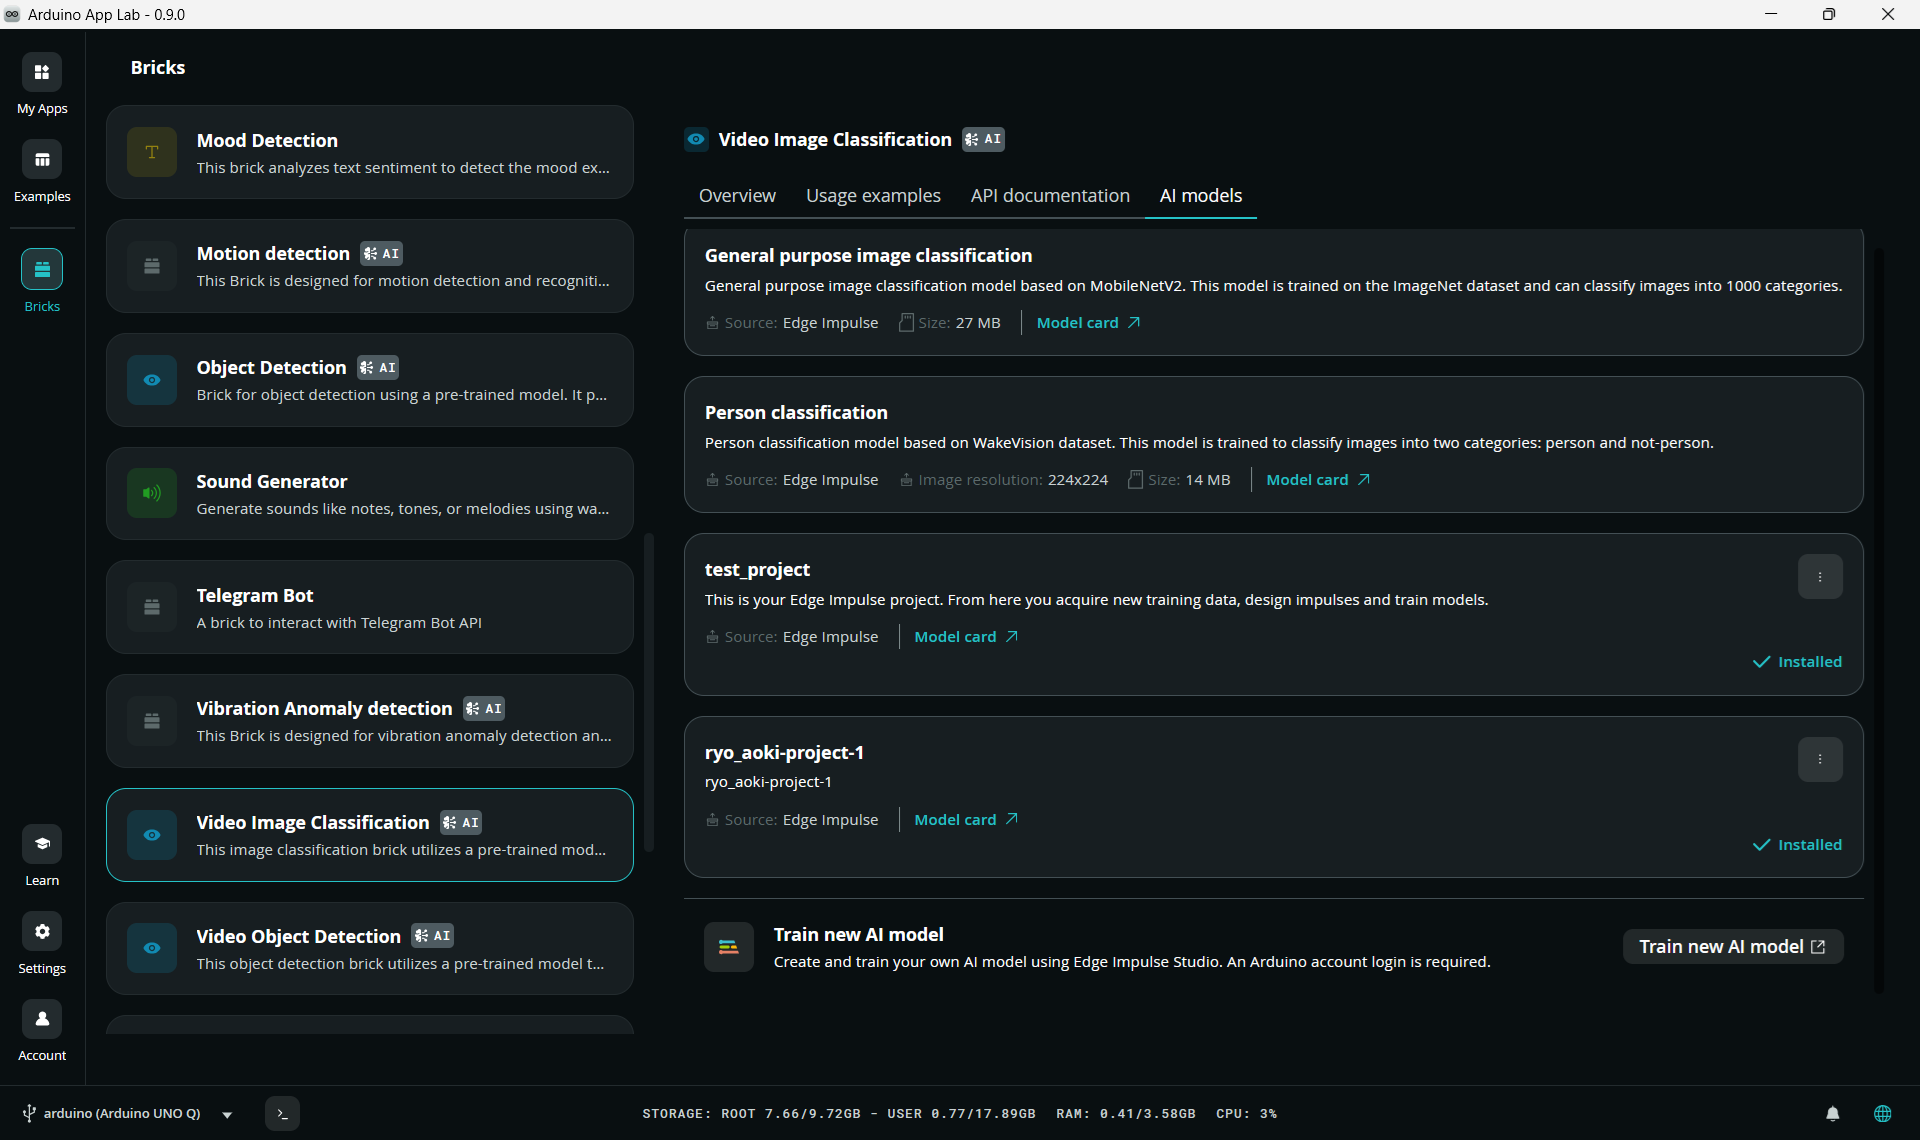
AI models tab and Train new AI model button
You will be prompted to register and log in to your Qualcomm account. Once you log in successfully, your Edge Impulse user page will open in your browser. Model creation will take place on this website.
2-3. Create a project
Select "Create new project" in the upper right corner, enter a project name, and create the project.
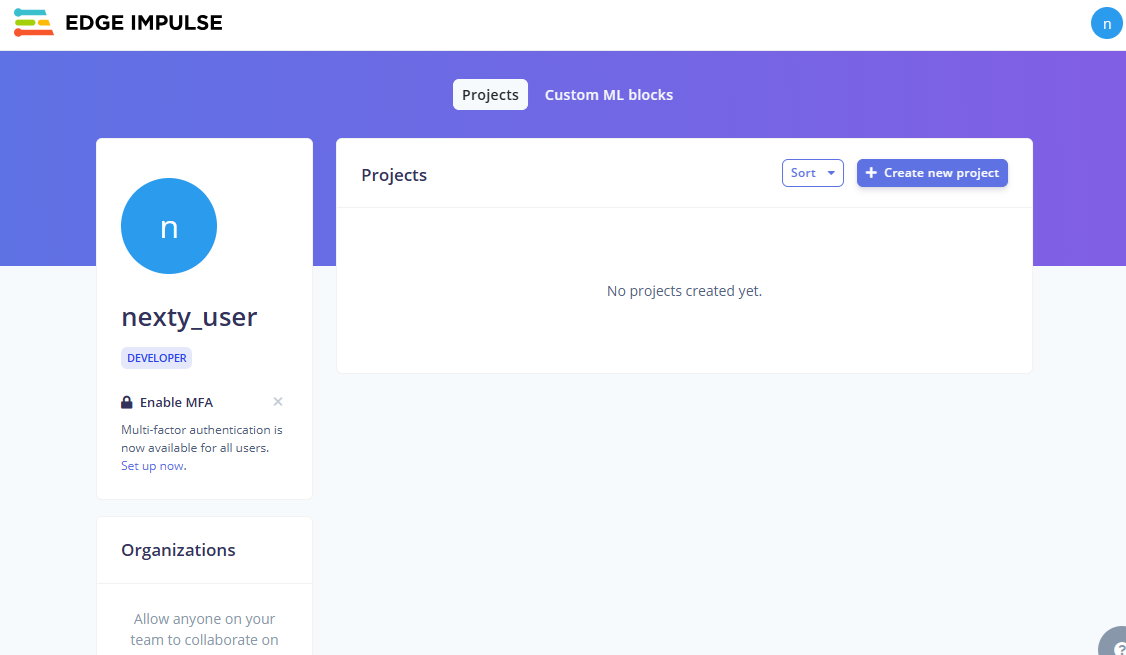
Edge Impulse user page
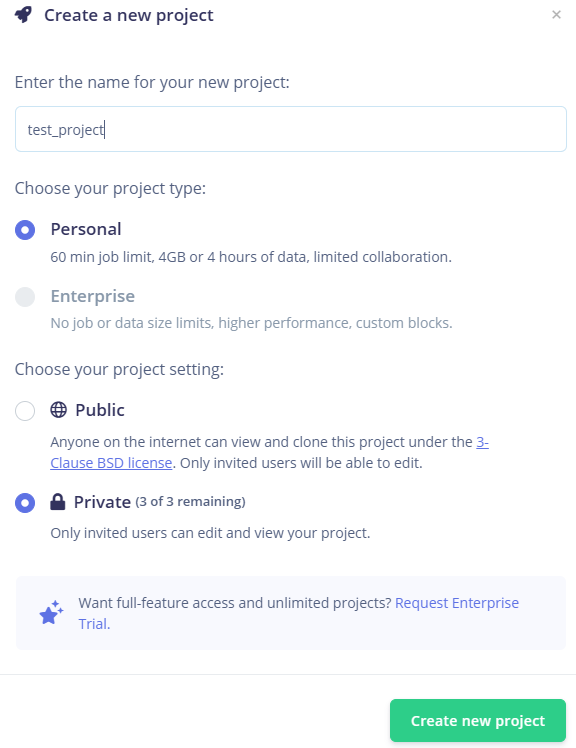
Project creation dialog
2-4. Configure the target device
Select "Target" in the upper right corner, then select "Arduino UNO Q (Qualcomm QRB2210)" from the list of target devices and save.
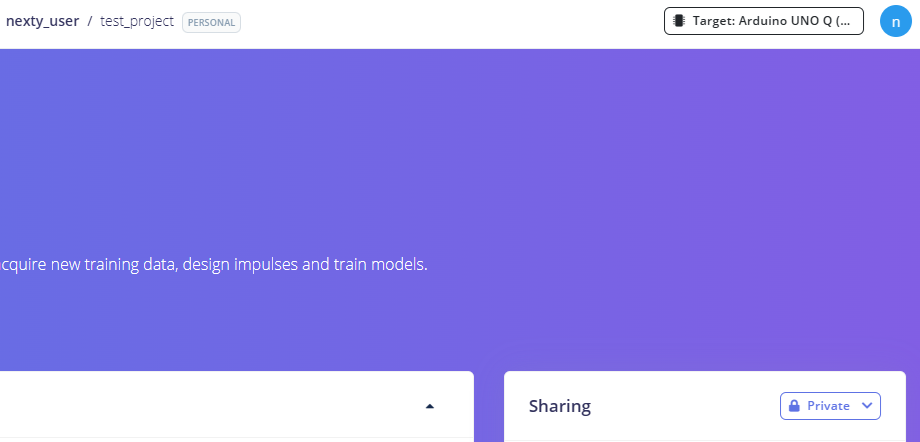
Target device selection 1
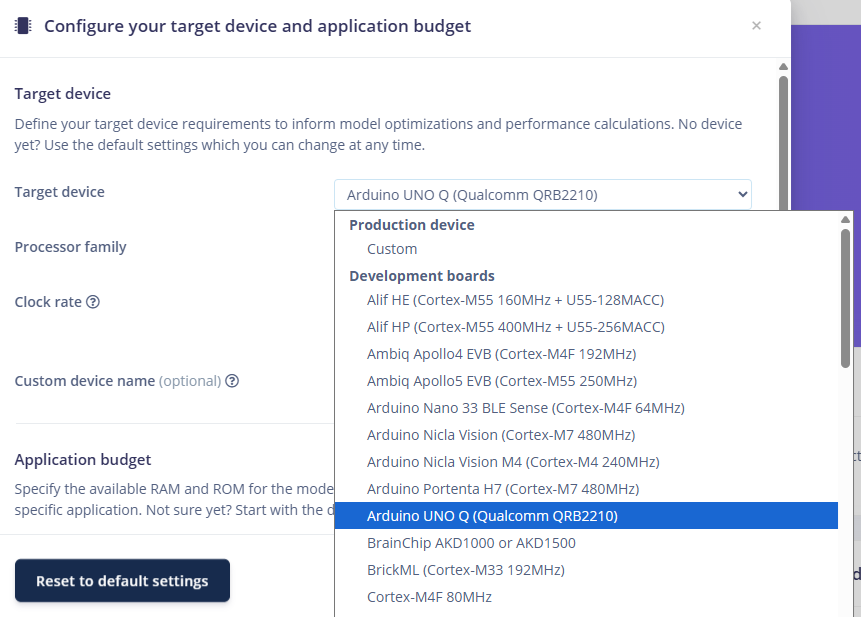
Target device selection 2
Also, under "Project info" in the bottom right, select "One label per data item" from the "Labeling method" (in this case, since it's image classification, we'll assign one label to each image).
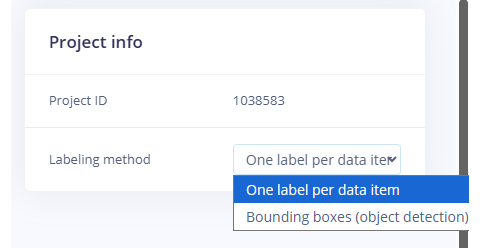
Labeling method settings
3. Collect image data for training.
To create an image classification model, you need image data to train the model to understand which images belong to which category. In this case, we collect images of mice, scissors, and other objects, label them, and use them as training data. The content of this image data greatly affects how stably the trained model can classify objects.
The accuracy of an image classification model is greatly influenced by how the images used for training are taken. By collecting images that closely resemble the actual situation you want to infer, while also incorporating variations as follows, you can make the model more stable and easier to classify.
- Change the angle: Take photos from multiple angles, not just from the front, but also from diagonally, above and below, left and right, etc.
- Change the background: Take photos not only on the same desk, but also on paper or against a different colored background.
- Changing the brightness: Change the conditions, such as a bright area, a slightly dark area, or an area with shadows.
- Change the position of the object: Take photos not only in the center of the image, but also slightly off to the side.
- Ensure an equal number of images for each label: avoid a significant imbalance in the number of images for 'mouse', 'scissors', and 'others'.
3-1. Connect the data acquisition device.
Select "Collect new data" from "Getting started".
Select a device for data entry. You can also scan the QR code on the left with your smartphone and take a photo with your smartphone's camera to enter data. This time, we will select "Connect to your computer" in the center and enter data using a USB camera connected to a PC.
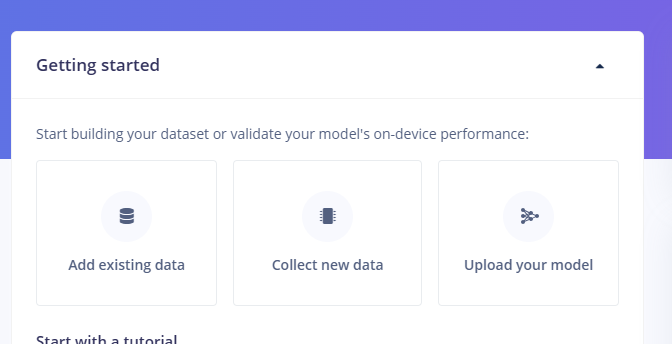
Select device 1 for collecting new data.
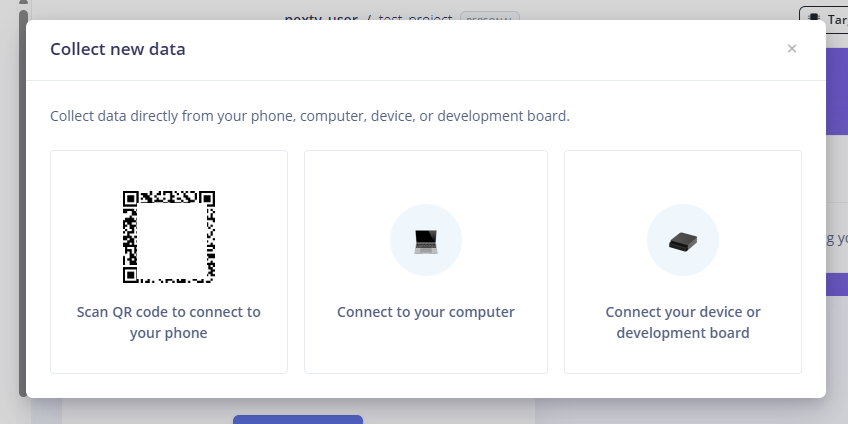
Device selection 2 for collecting new data
Once the connection is complete, select "Collecting images?" and then select "Give access to the camera" to grant permission to the connected camera.
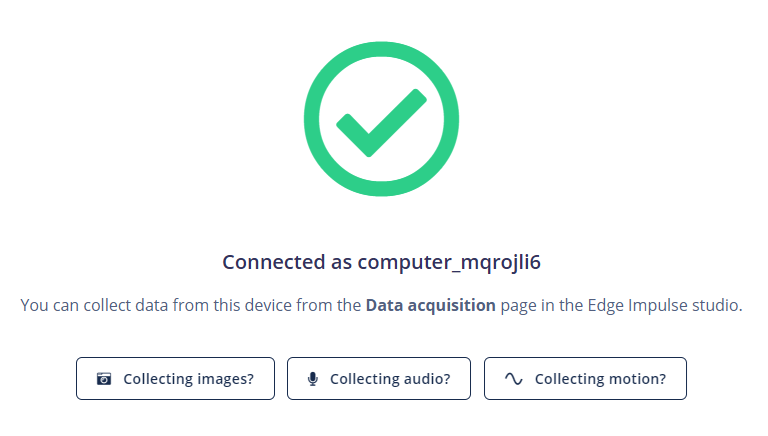
Select device 3 for collecting new data.
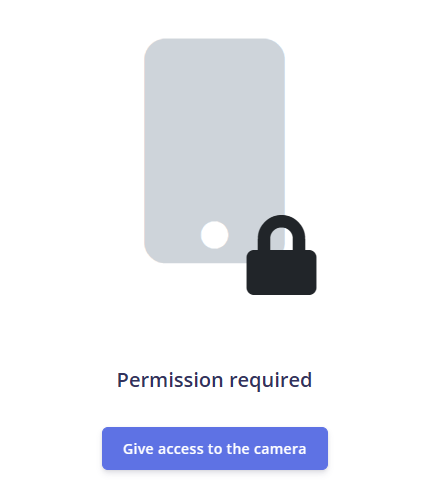
Select device 4 for collecting new data.
3-2. Collect images of "mouse"
First, we'll collect an image of the mouse. Select the Label button at the top, label it 'mouse', and then press Capture to record the image of the mouse.
Capture approximately 30 images of the mouse cursor, changing the angle and background each time.
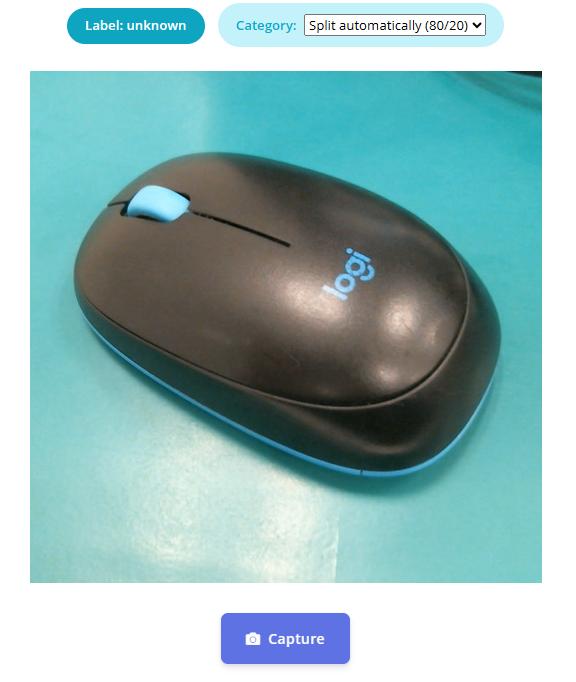
Mouse capture screen
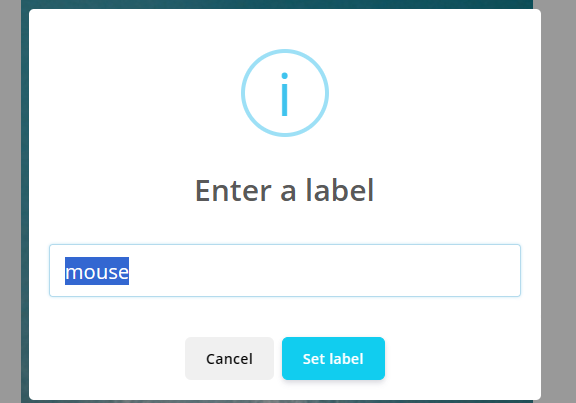
Label input
3-3. Collect images of "scissors"
Similarly, label the image 'scissors' and capture about 30 images of scissors, varying the angle and background.
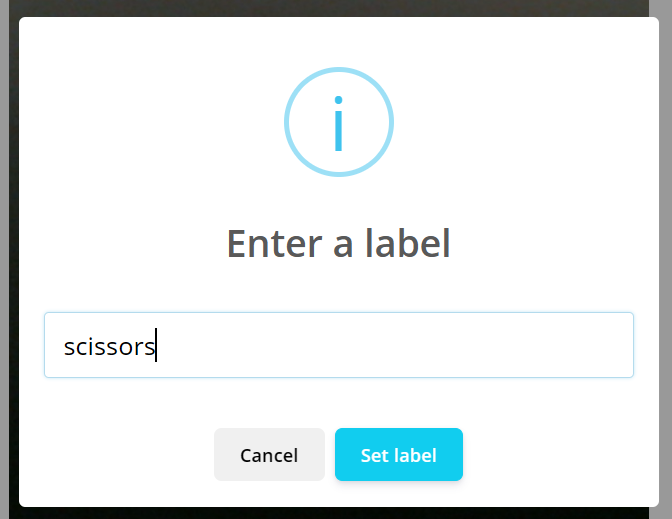
Labeling and capturing scissors 1
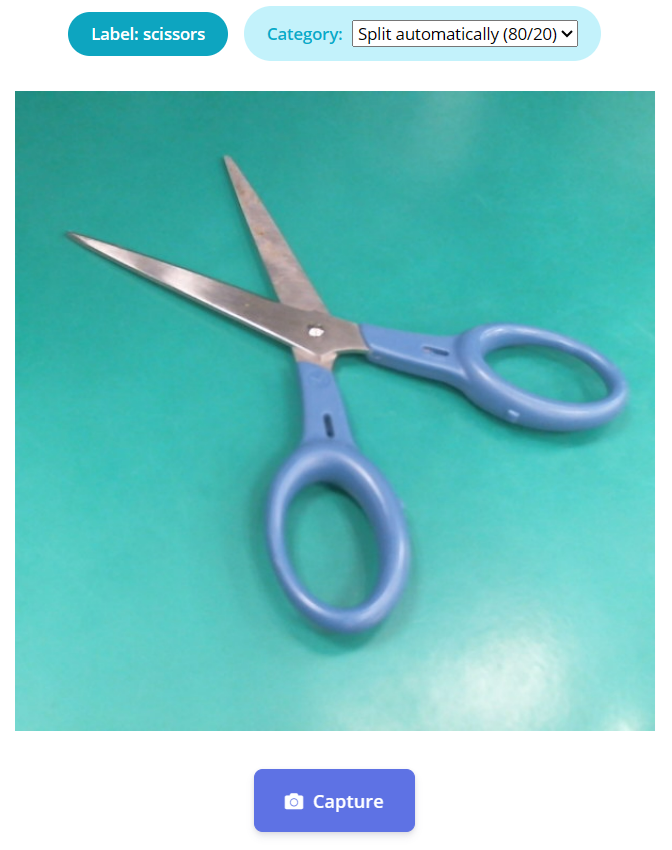
Labeling and capturing scissors 2
3-4. Collect images of "others"
Next, capture about 30 images other than scissors and mice and label them as 'others'. By training the model with items other than those to be classified as "OTHERS," you can reduce false positives.
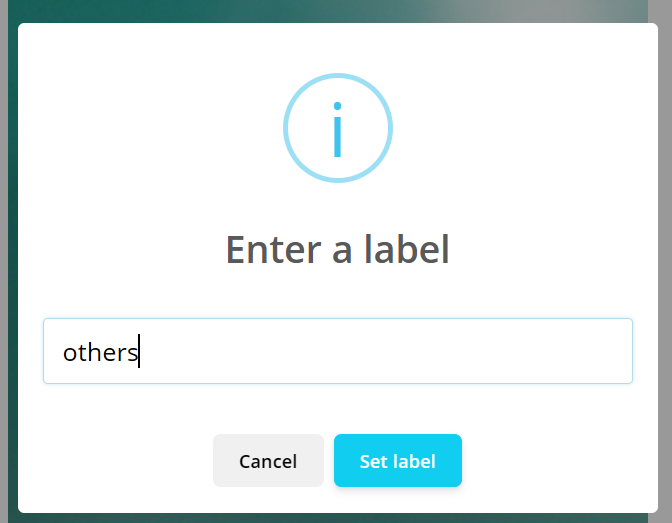
Labeling and capturing others 1
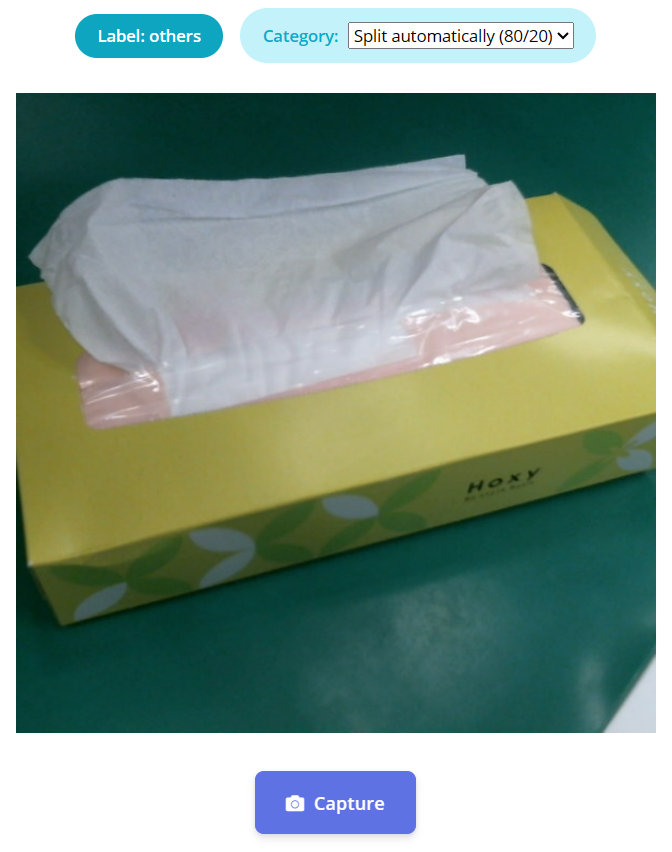
Labeling and capturing others 2
4. Design and train the model (Impulse design)
Here, we create an image classification model using the collected image data. First, we create a processing flow called an Impulse, adding processing blocks to convert the image data into a format that can be input to the model, and training blocks to train the classification model. Next, we generate features from the images, and finally, we use Transfer Learning to train a model that classifies 'mouse', 'scissors', and 'others'.
4-1. Create an Impulse
From the Impulse design menu on the left, select Create impulse.
- Add an image to the Add processing block.
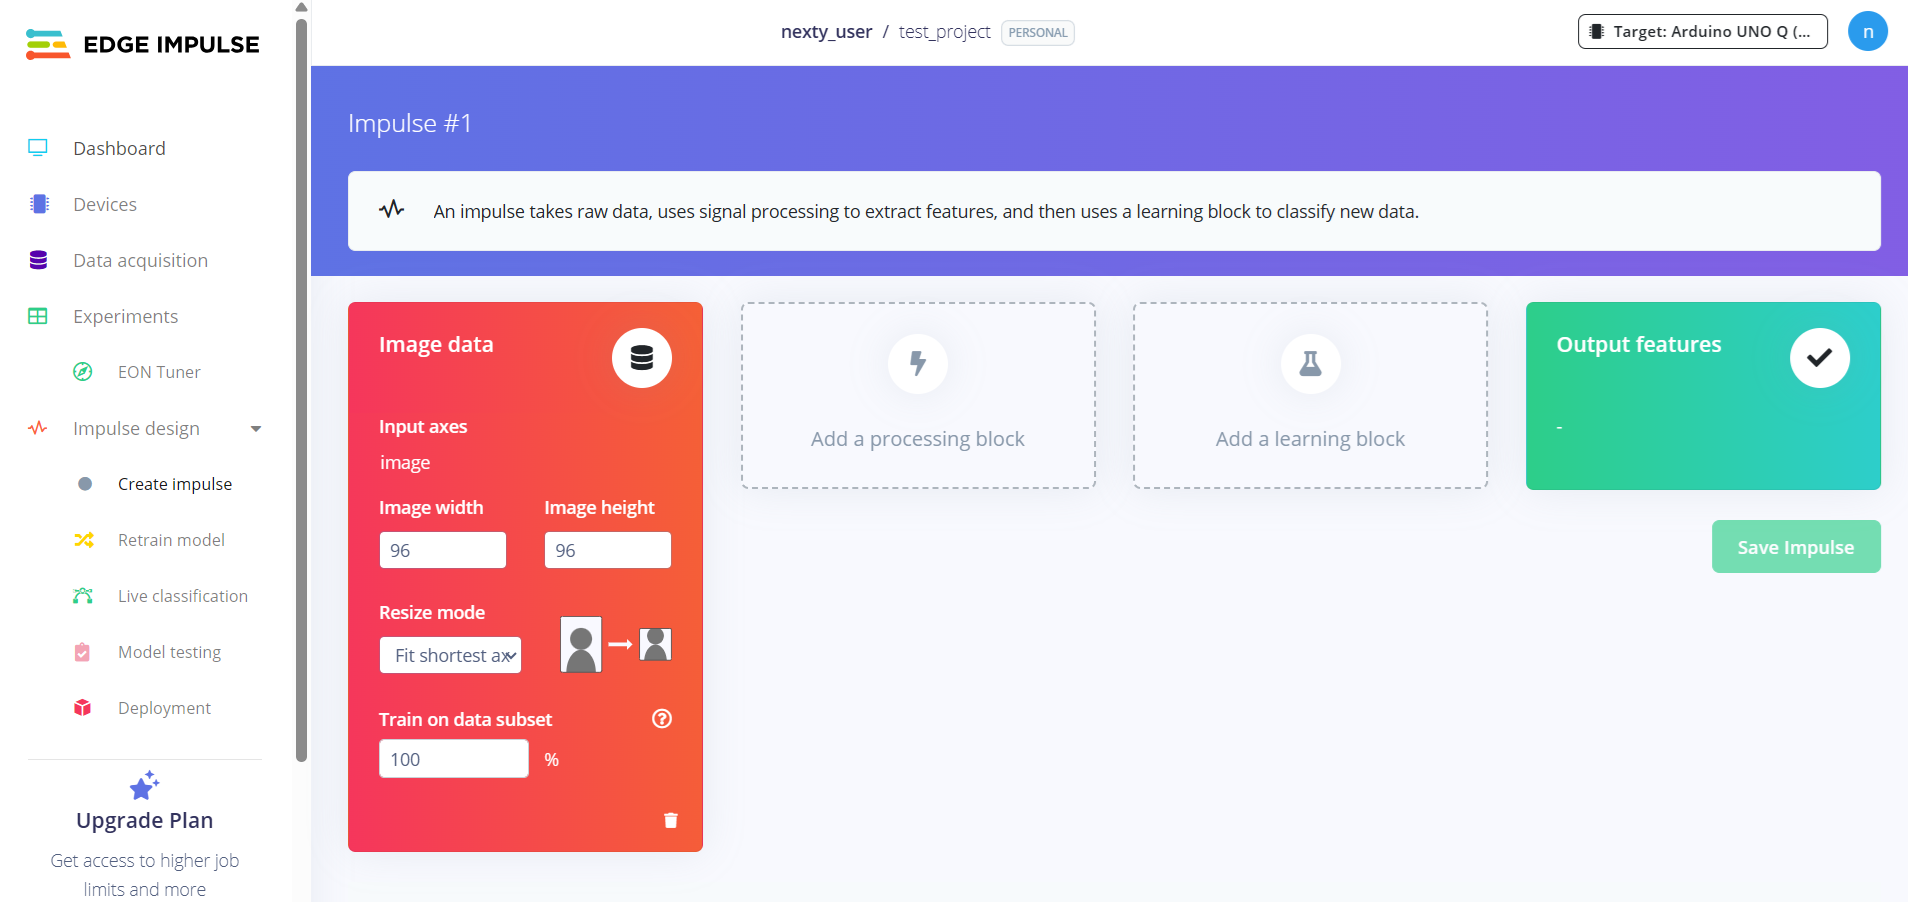
Create impulse: Add screen and blocks 1
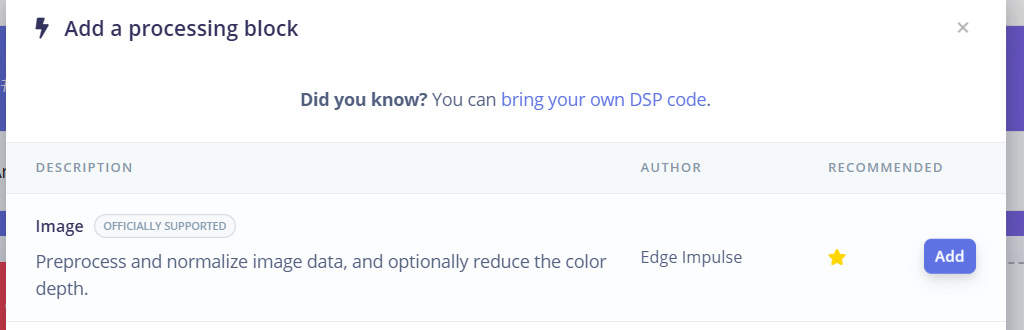
Create Impulse: Adding screen and blocks 2
- Add the Transfer Learning (Images) block to the Add learning block.
- Select Save Impulse to save.
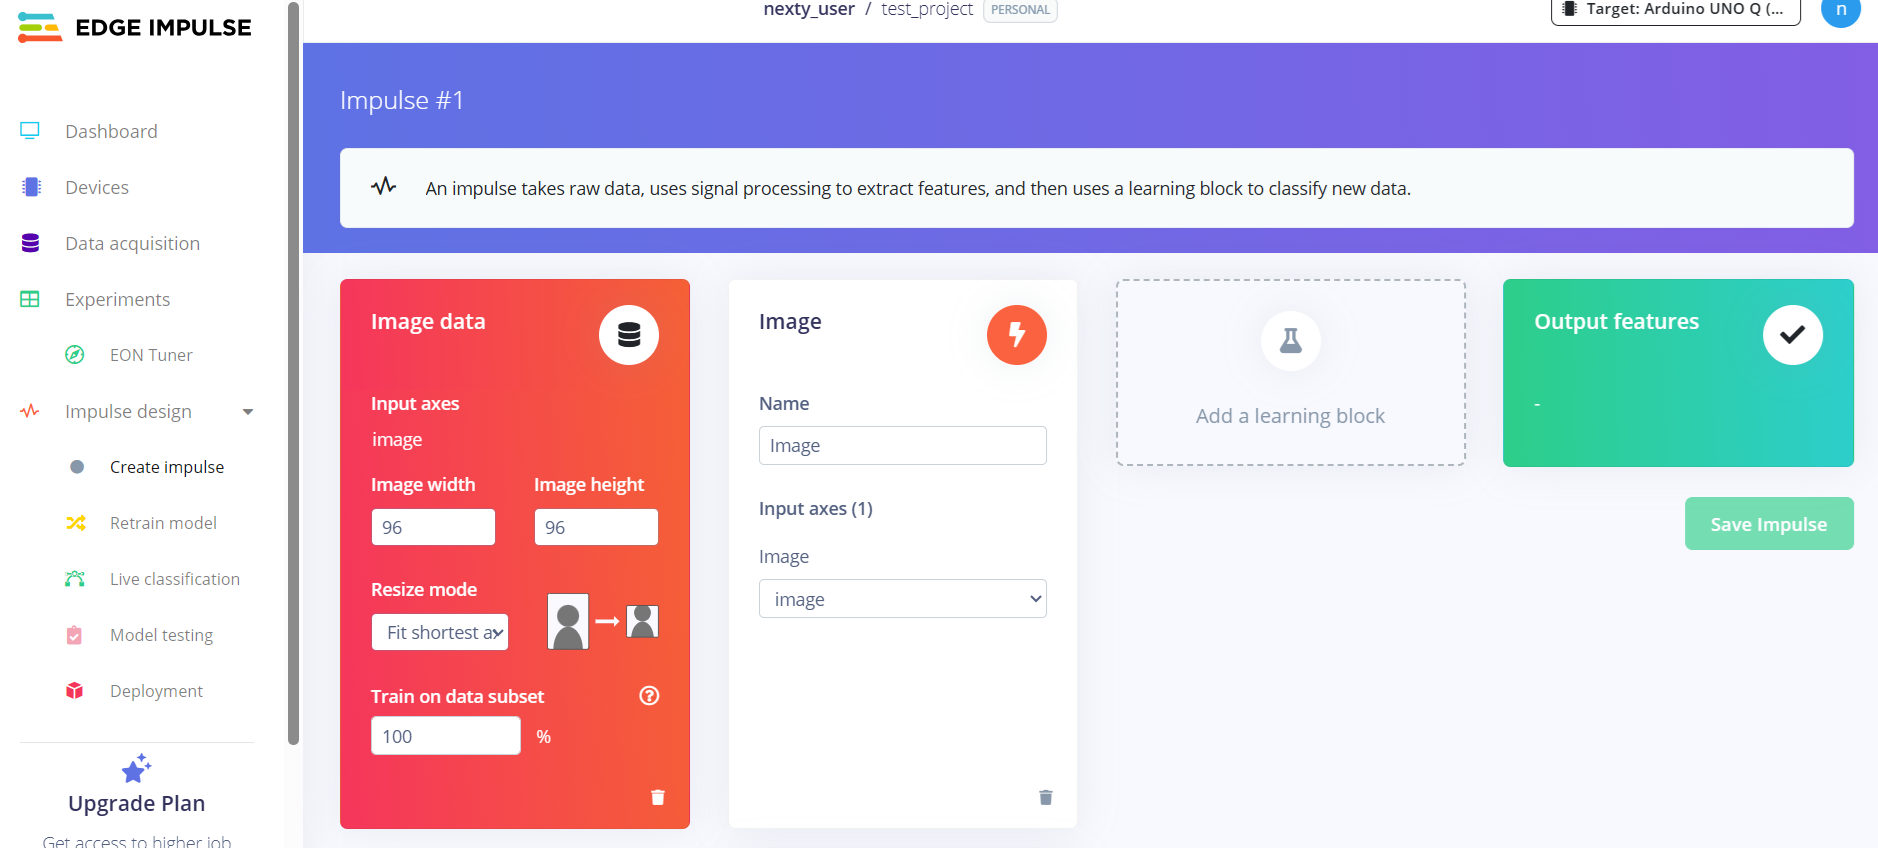
Create impulse: Add screen and blocks 3
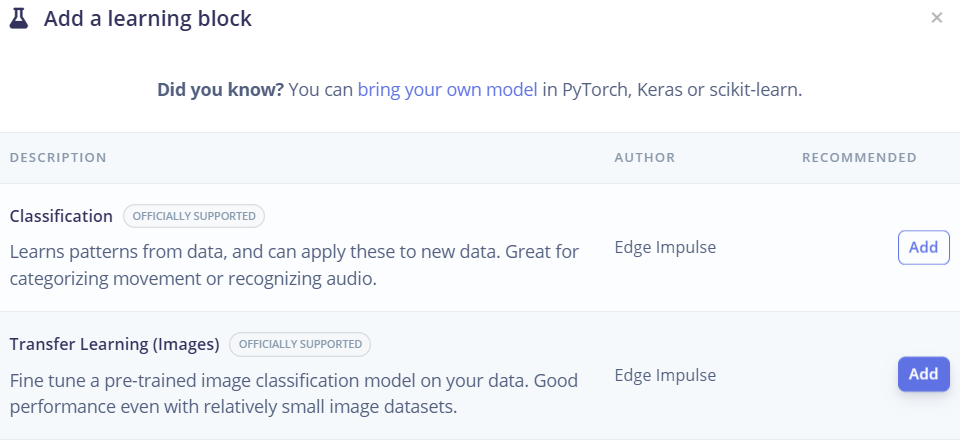
Adding screen and blocks to Create Impulse 4
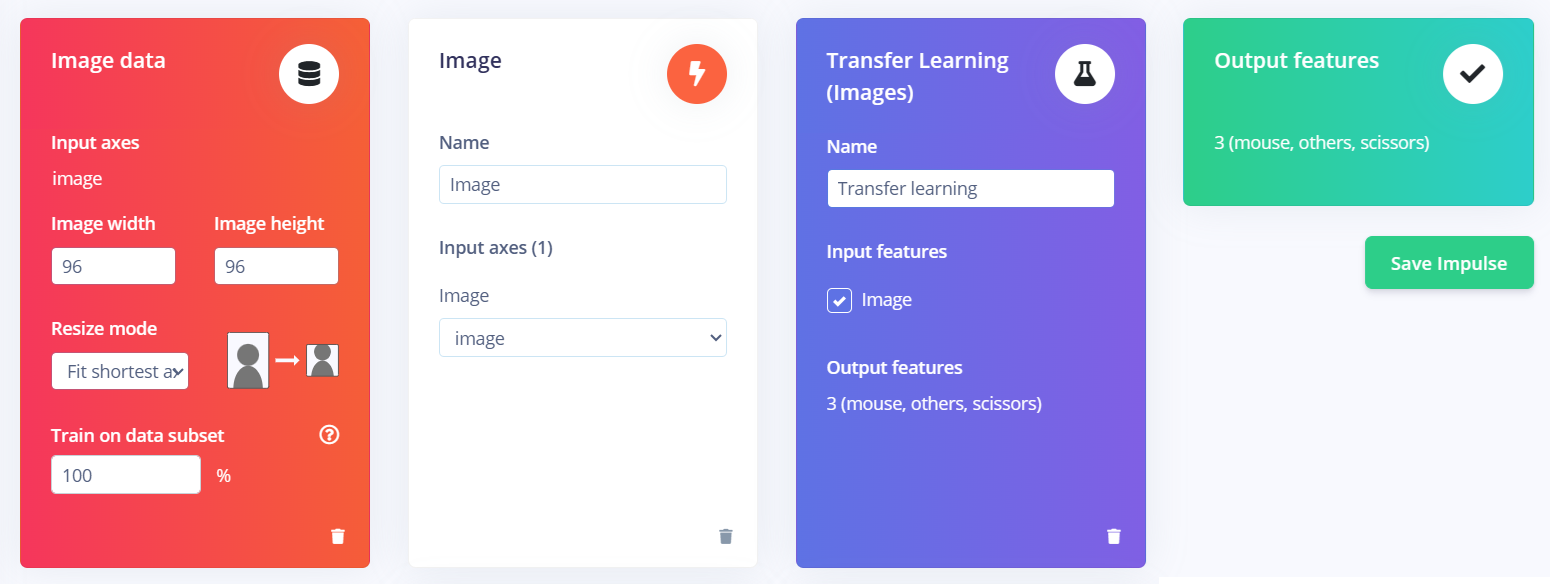
Impulse after configuration is complete
4-2. Generate features
Select "Image" from the Impulse design menu on the left, and then select the "Generate features" tab from the menu at the top. Select the "Generate features" button on the screen that appears.
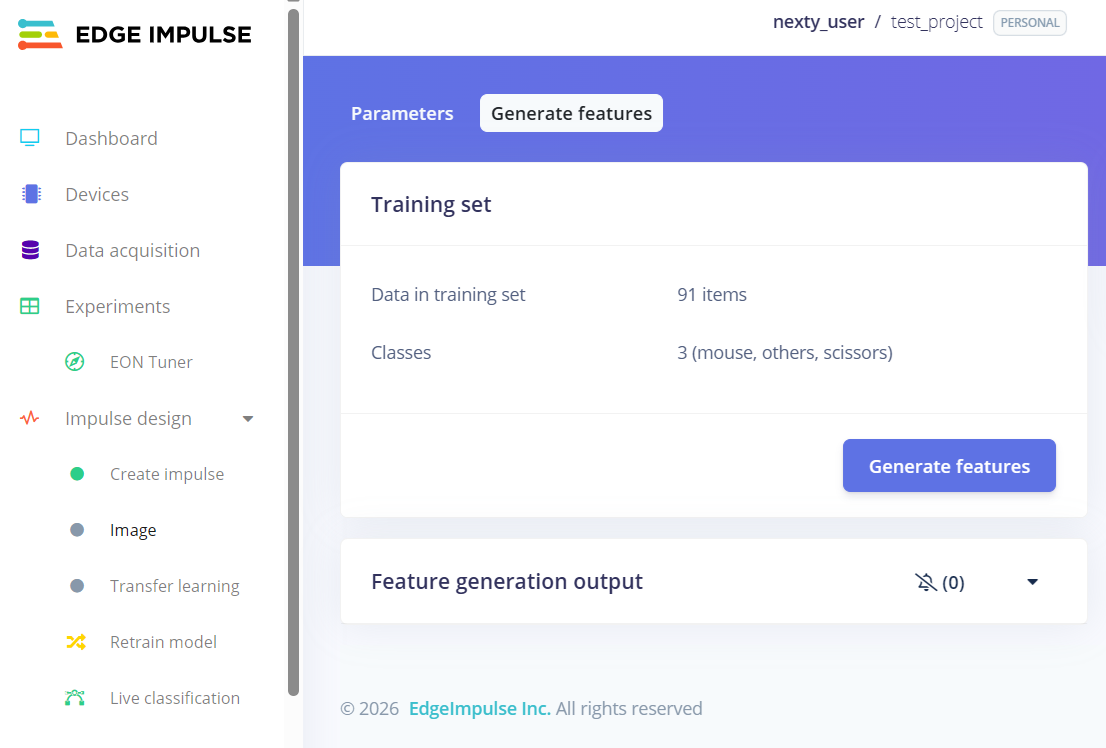
Executing GenerateFeatures 1
Confirm that the job is completed in the log below.
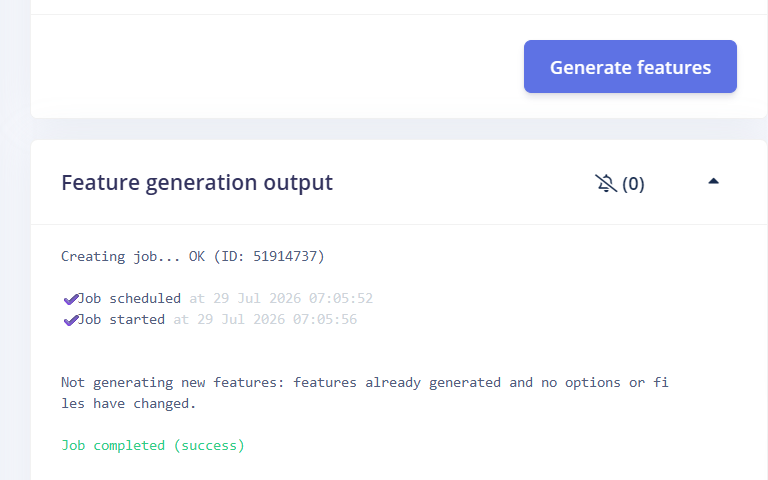
Run 2 of Generate features
4-3. Training the Model (Transfer Learning)
From the Impulse design menu on the left, select Transfer learning, and then select Save & train at the bottom.
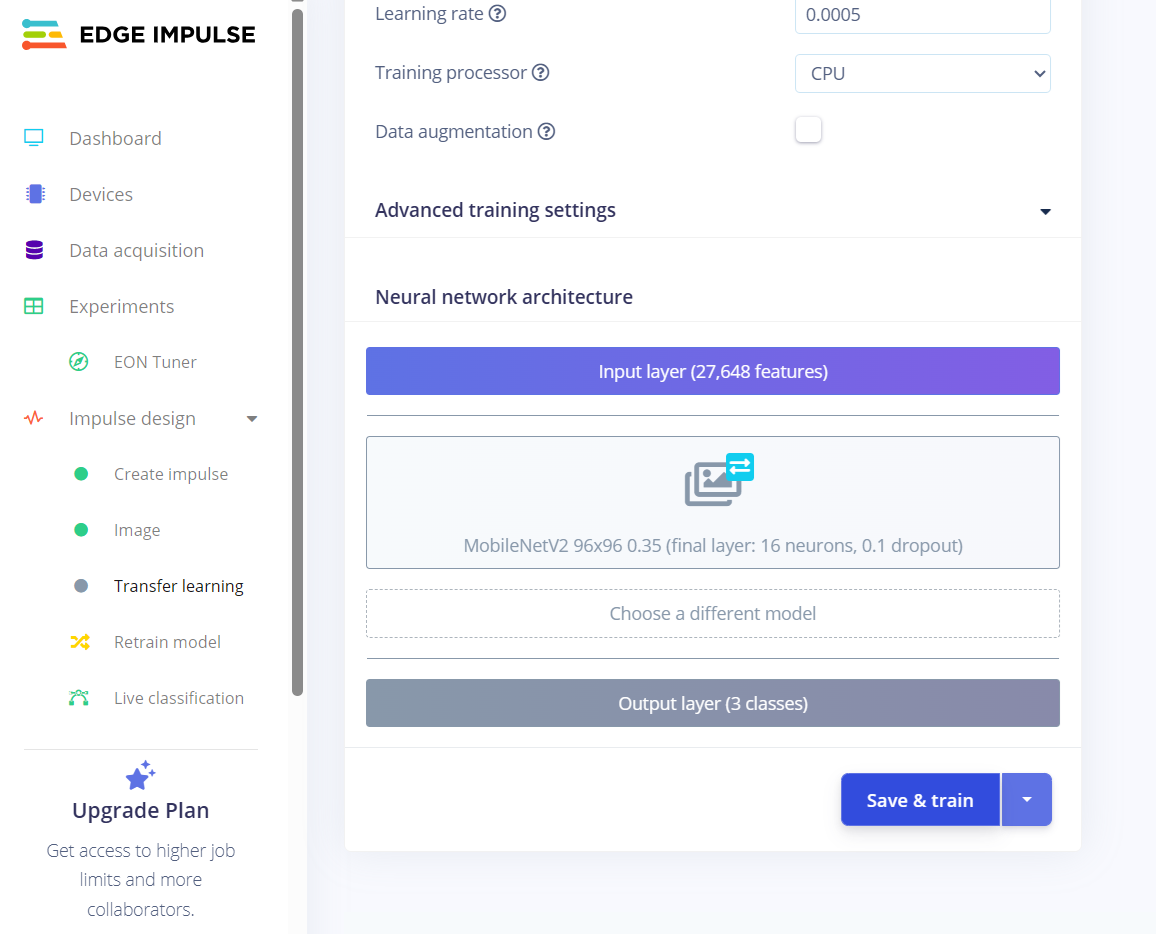
Learning settings and Save & Train
The job is complete when "Job completed" is displayed in the log in the upper right corner. Model performance is also measured, and results such as Accuracy and confusion matrix are displayed at the bottom of the log.
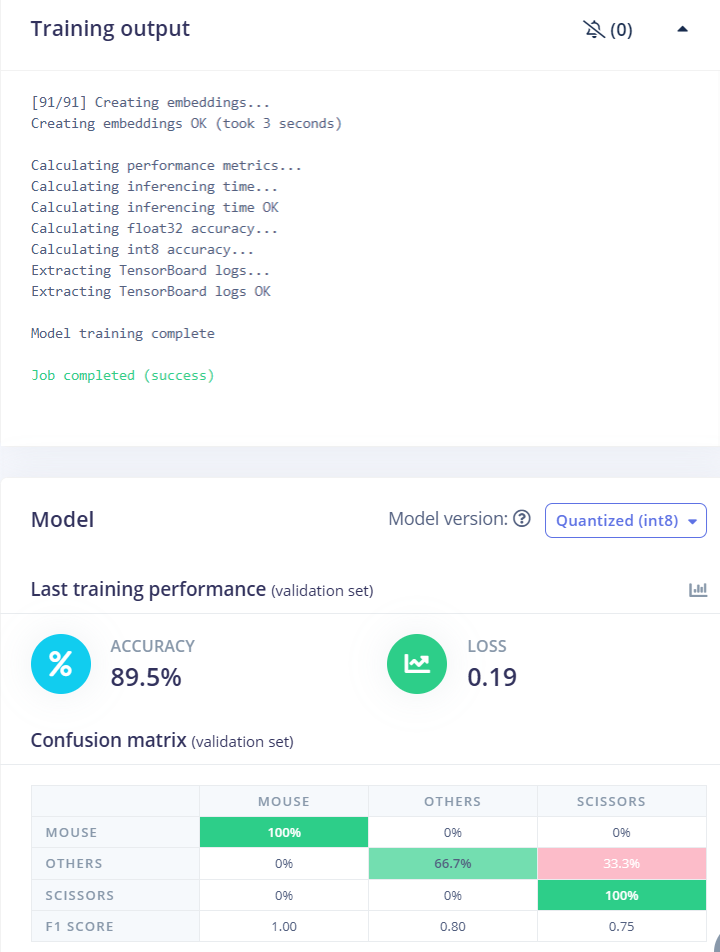
Learning results (Accuracy and confusion matrix)
5. Test the created model (Live classification)
We will now test the trained model using actual camera footage.
- 1. Select "Live classification" from the Impulse design menu on the left.
- 2. Select the semiconductor icon (Connect a development board) at the top of the displayed menu.
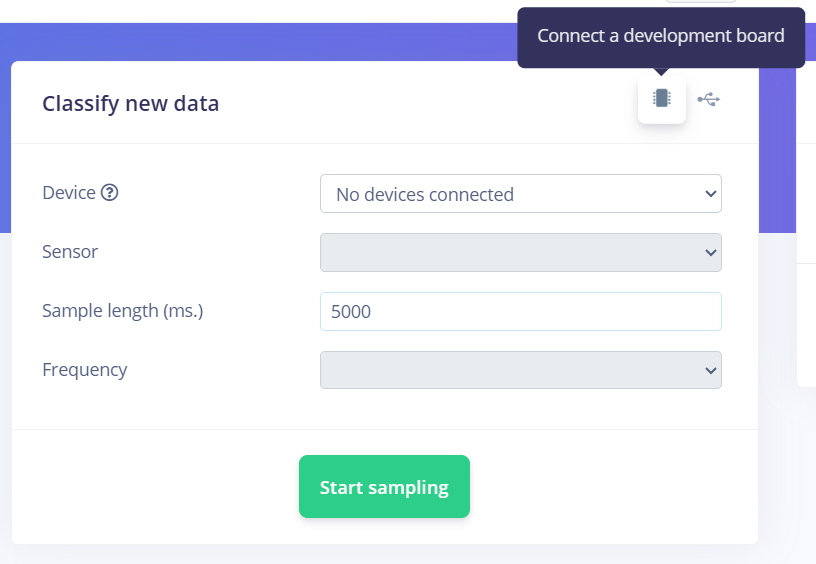
Live classification screen
- 3. Select which device to use, just as you did when collecting the data. This time, select "Connect to your computer" in the center.
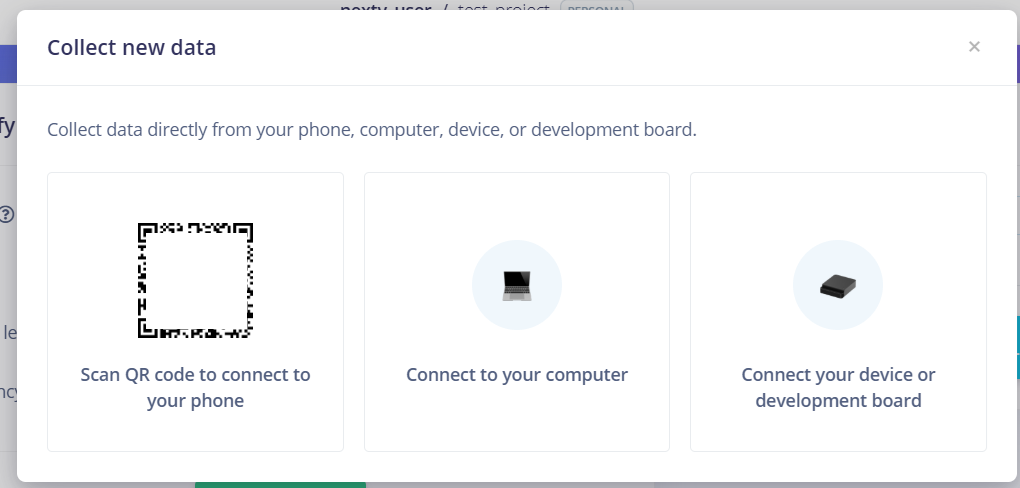
Live classification screen
- 4. Select "Give access to the camera" and allow the camera to connect.
- 5. Select "Switch to classification mode" to start inference mode.
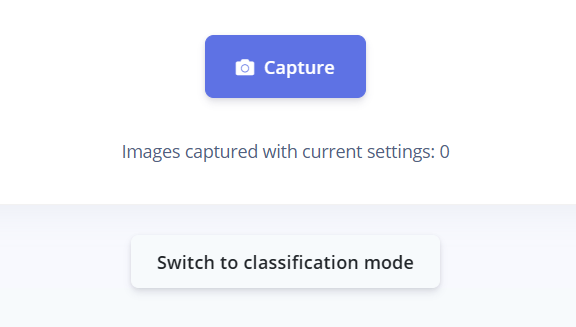
Live classification screen
When you point the camera at the mouse, you can see that it is inferred to be a mouse with a high confidence level, such as 'mouse (0.96)'.
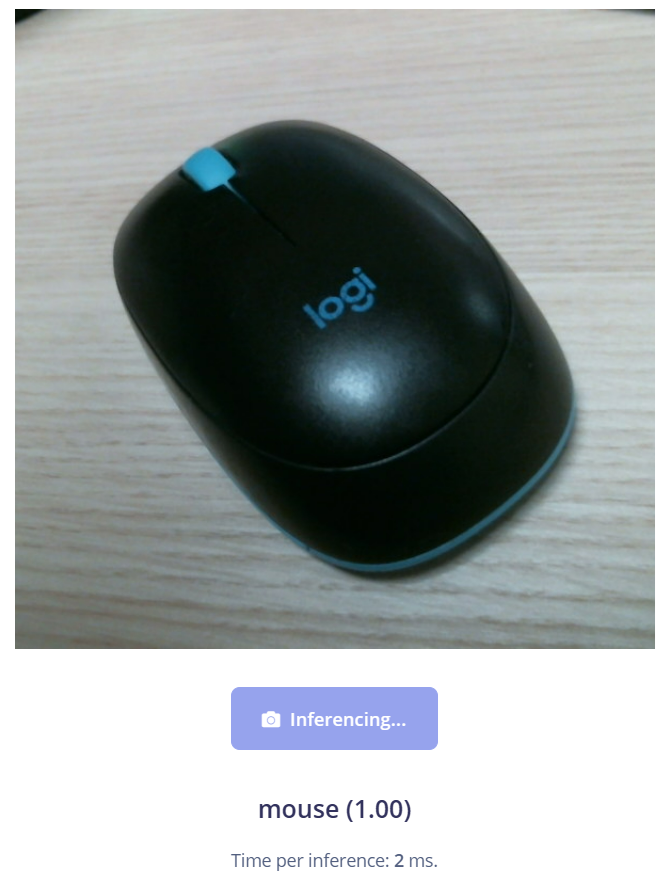
Verification of inference results
6. Run the model on Arduino UNO Q
6-1. Download the model
Launch Arduino App Lab, go to the top left menu Bricks → Image Classification → AI models tab, locate the project you created on Edge Impulse, and run Download.
This allows you to use models trained on Edge Impulse within the Arduino App Lab.
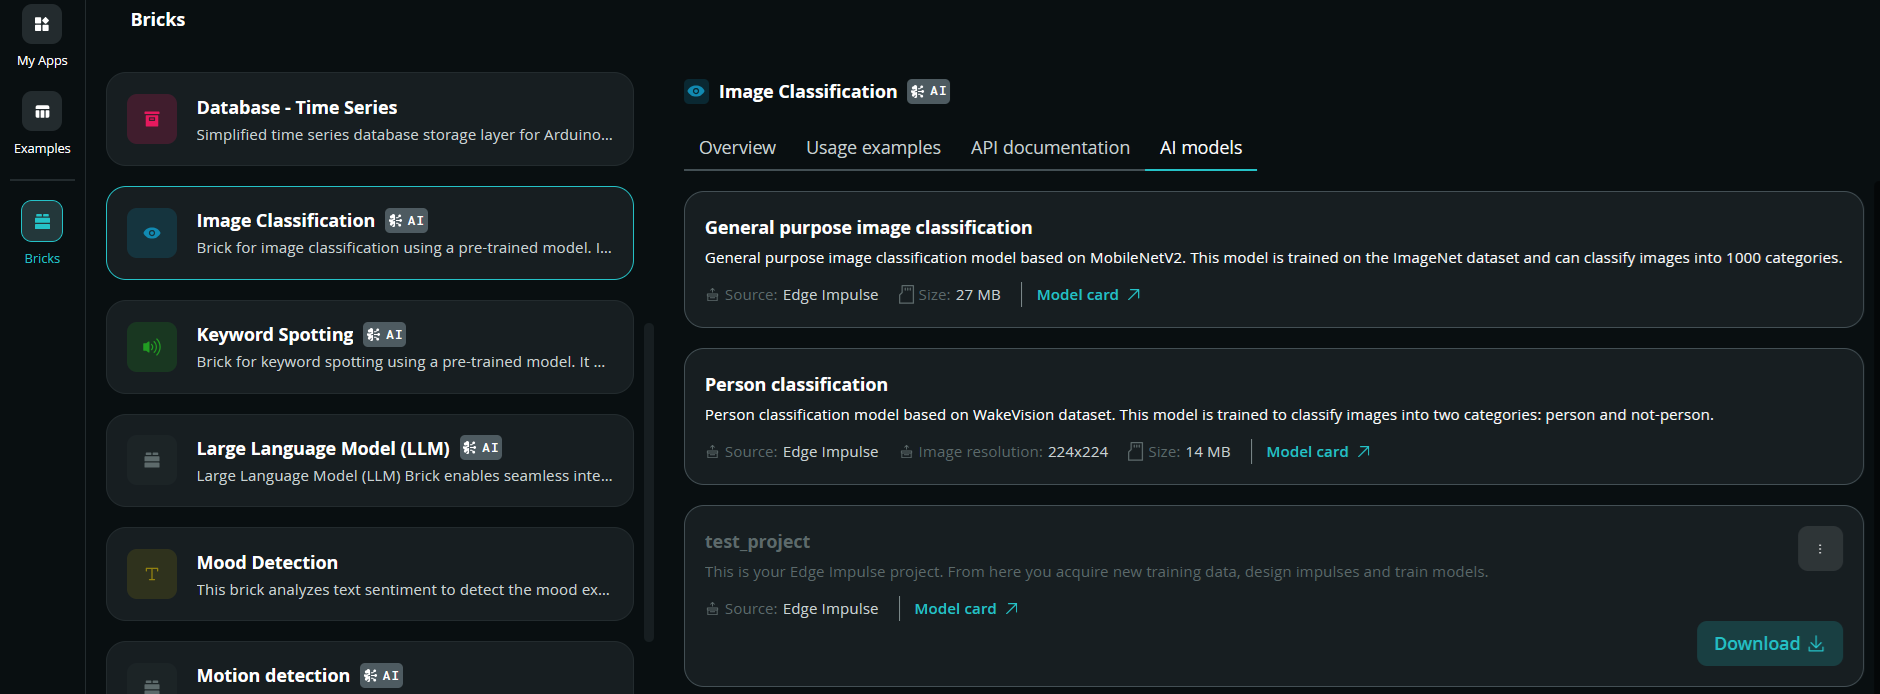
Model Download
6-2. Create an app
Select "My Apps" from the top left menu, then select "Create new app+". Enter a project name and select "Create new".
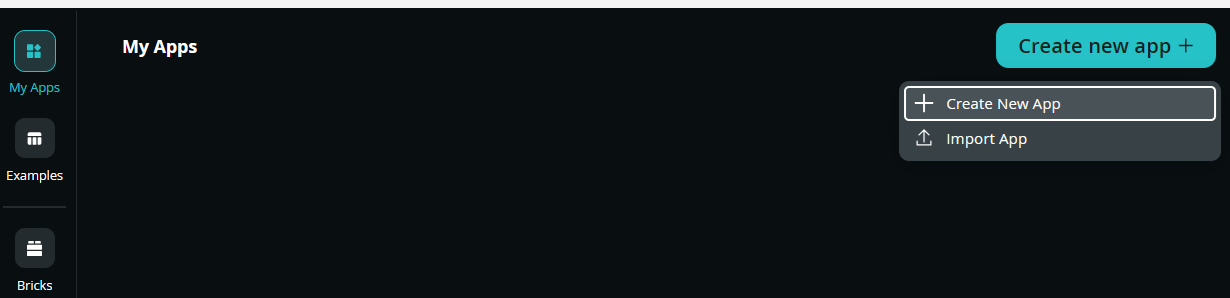
Create a new app
6-3. Add Brick
Select "Add bricks" from the top left menu. Select "Video Image Classification" from the list on the left, and then select the project you just created from the list of AI models on the right and add it using "Add brick".
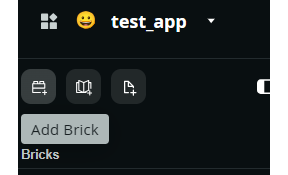
Adding a Video Image Classification Brick
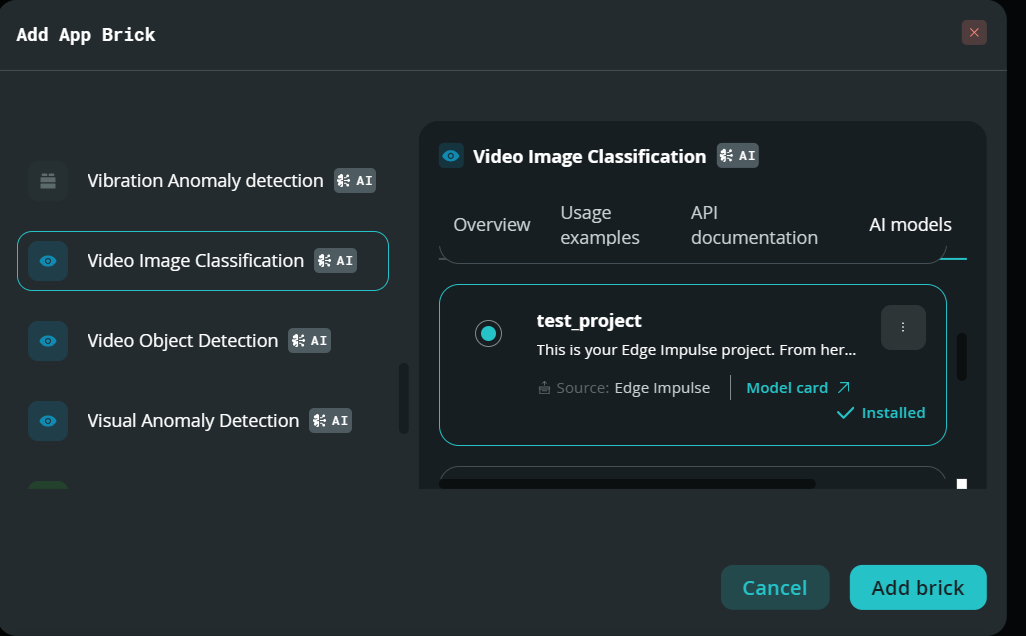
Adding a Video Image Classification Brick
6-4. Rewrite main.py
Replace the contents of 'main.py' located under 'python' in the left-hand menu with the following:
from arduino.app_utils import App
from arduino.app_bricks.video_imageclassification import VideoImageClassification

classification_stream = VideoImageClassification()

def detected(label):
    print(f"Detected: {label}")

classification_stream.on_detect("mouse", lambda: detected("mouse"))
classification_stream.on_detect("scissors", lambda: detected("scissors"))
classification_stream.on_detect("others", lambda: detected("others"))

App.run()
6-5. Run the app.
Start the demo by clicking the Run button in the upper right corner.
After startup, switching the log display to Python will classify objects captured by the USB camera. In this case, since we've trained it to recognize the PC mouse, pointing the camera at the mouse will trigger a log message indicating mouse detection.
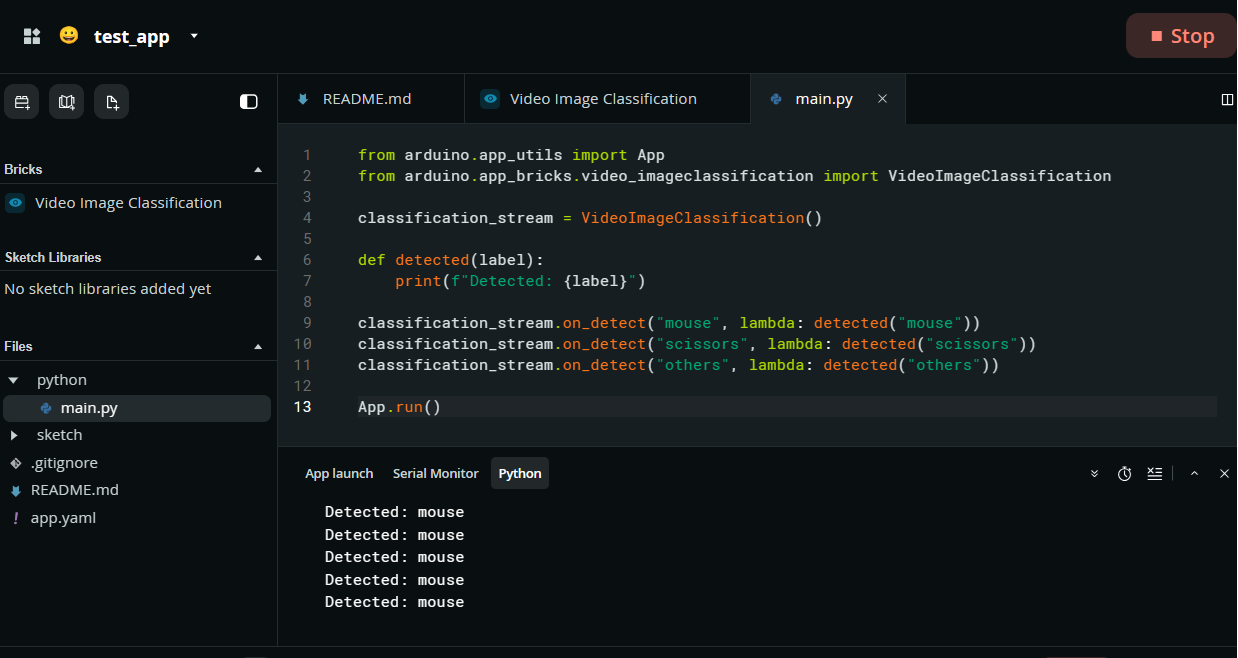
Mouse detection log
7. Summary
By combining Arduino UNO Q and Edge Impulse, I was able to easily run my custom image classification model following the steps below.
- Data collection: Easily collect data from USB cameras and smartphones via a web browser.
- Model training: Transfer Learning enables practical accuracy even with a small number of images (around 30 each).
- Deployment: Download the model from Arduino App Lab in a few clicks and create an inference app with a few lines of Python.
The ability to run custom AI models on edge devices with minimal coding is a major draw. I encourage everyone to try training them on things around them.
Nexty Electronics' Initiatives
NEXTY Electronics Corporation is a core company in the Toyota Tsusho Group's electronics business and boasts a top-class scale in the field of automotive electronics.
With technology and products at its core, we will respond to the needs of our customers and society in a wide range of fields, provide solutions to social issues, and contribute to the realization of a better society.
Furthermore, Nexty Electronics' development team also conducts in-house development and contract development (hardware and software development) utilizing the products it handles.
We will provide attentive support, including resolving any problems or concerns you may have, so please feel free to contact us.